1990 Peregrine Expert
Out of all of my Peregrines, this one is the strangest.
So the public story as we know it starts when a www.bmxmuseum.com member tries selling the frame for $5000.
As you can imagine, the backlash from the community was quite harsh. A year after it was originally posted
the bike was still for sale, but the community had moved on, so I approached the owner and we struck a deal.
He is actually a nice guy who had to deal with his deceased brother's collection.
I am going to preface this story that most of this in hearsay and conjecture. No Peregrine employees have ever
been interviewed to my knowledge. Let's go back in time a little. It is circa late 1990's, most likely around
'97-'98. Steve lives very near to the Peregrine warehouse. Because let's face it Peregrine never had a factory.
Most everything was made overseas, badged and assembled in Franklin Lakes, NJ. Steve liked to dumpster dive for
bike parts and when Peregrine closed it's doors for good, Steve hit the jackpot, because a lot of items went in
the dumpster. There is hearsay that the Peregrine inventory was sold and only "unwanted" items ended up in the
dumpster, we may never know what really happened.
So this bike was part of Steve's dumpster retrieval. I do not believe this bike was ever ridden or assembled for
riding. I will point out the oddities along the way and share what I have learned about the Peregrine Expert.
This is the original head tube badge. I currently regret removing it, but in time I will rectify my mistake. I believe this is the only original decal left on the bike, but then again, maybe it was a sample..
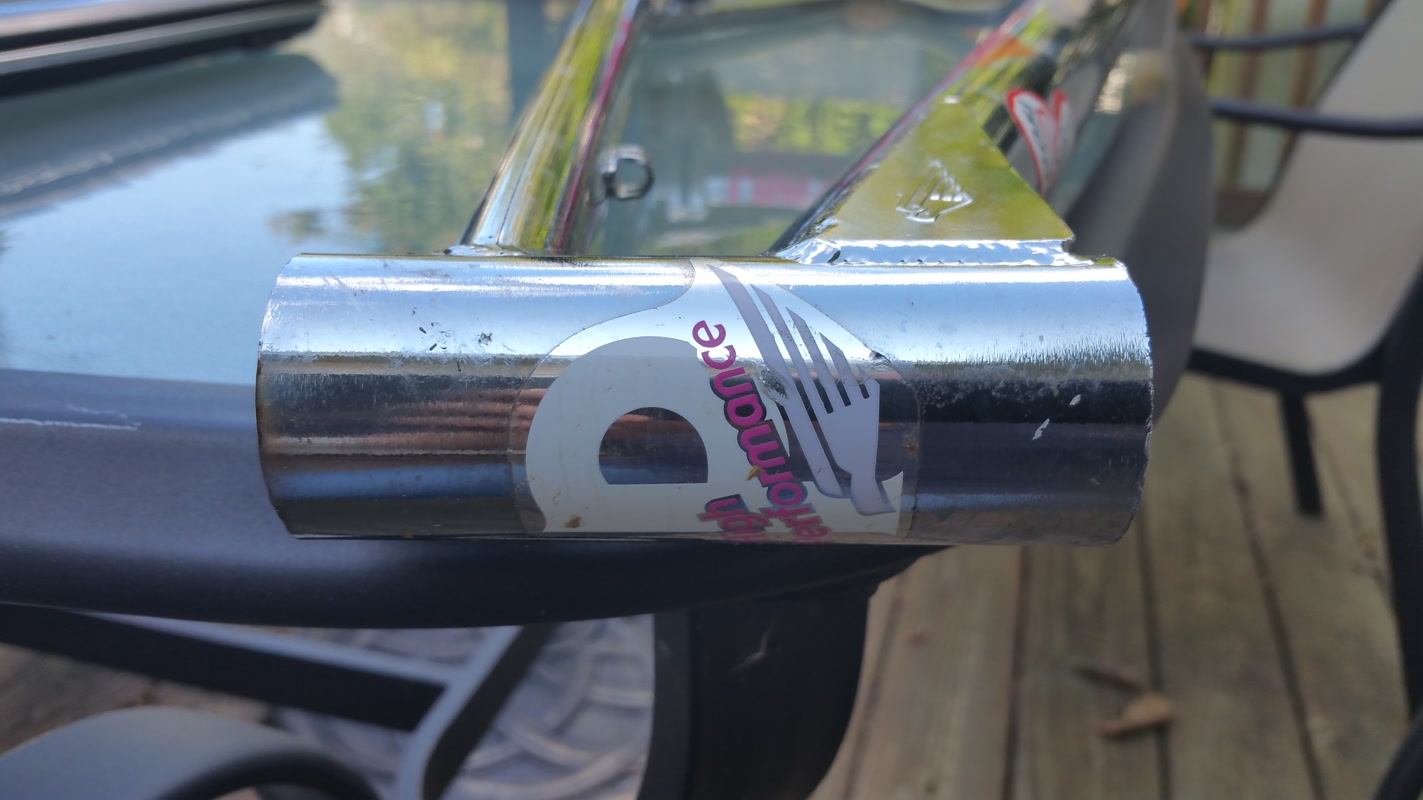
Figure 1, Credit: Michael Tuma
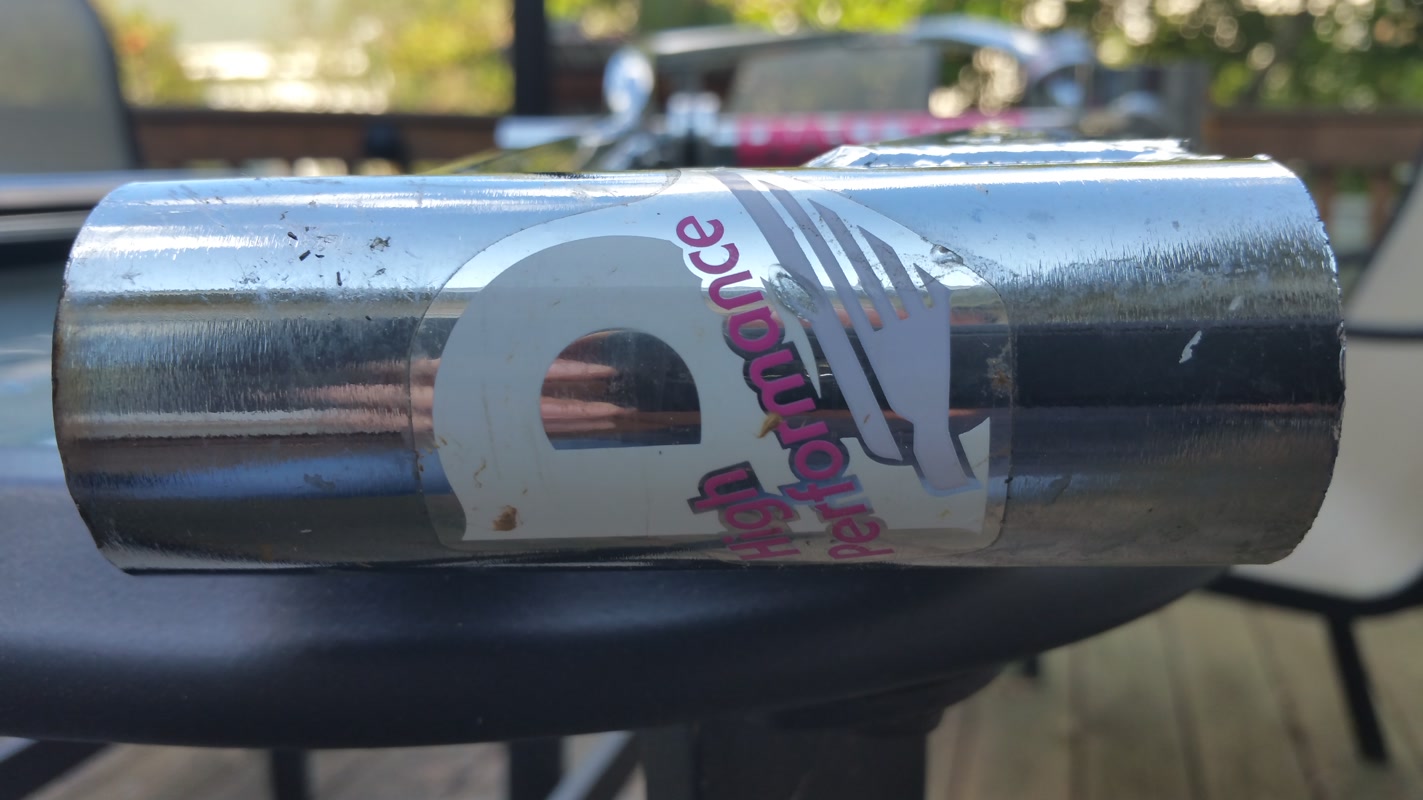
Figure 2, Credit: Michael Tuma
Anyone who collects Peregrine knows that original Peregrine decals are extremely rare and hard to come by. So I found a set of reproduction decals for an '87-'88 Peregrine Expert. Why is that important? I will explain later. So here is the head tube badge after.
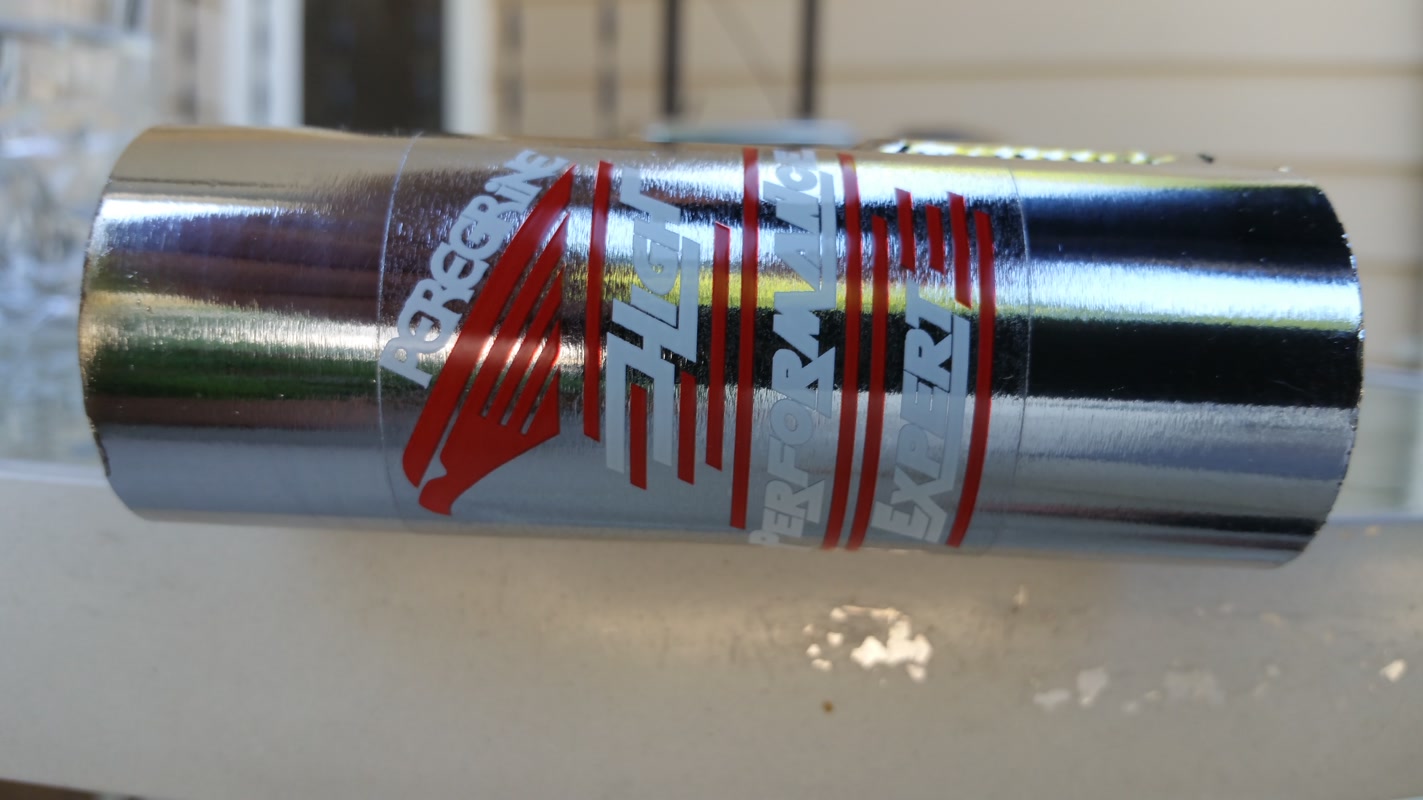
Figure 3, Credit: Michael Tuma
Here are a couple of pictures of the other decals that were on the bike.
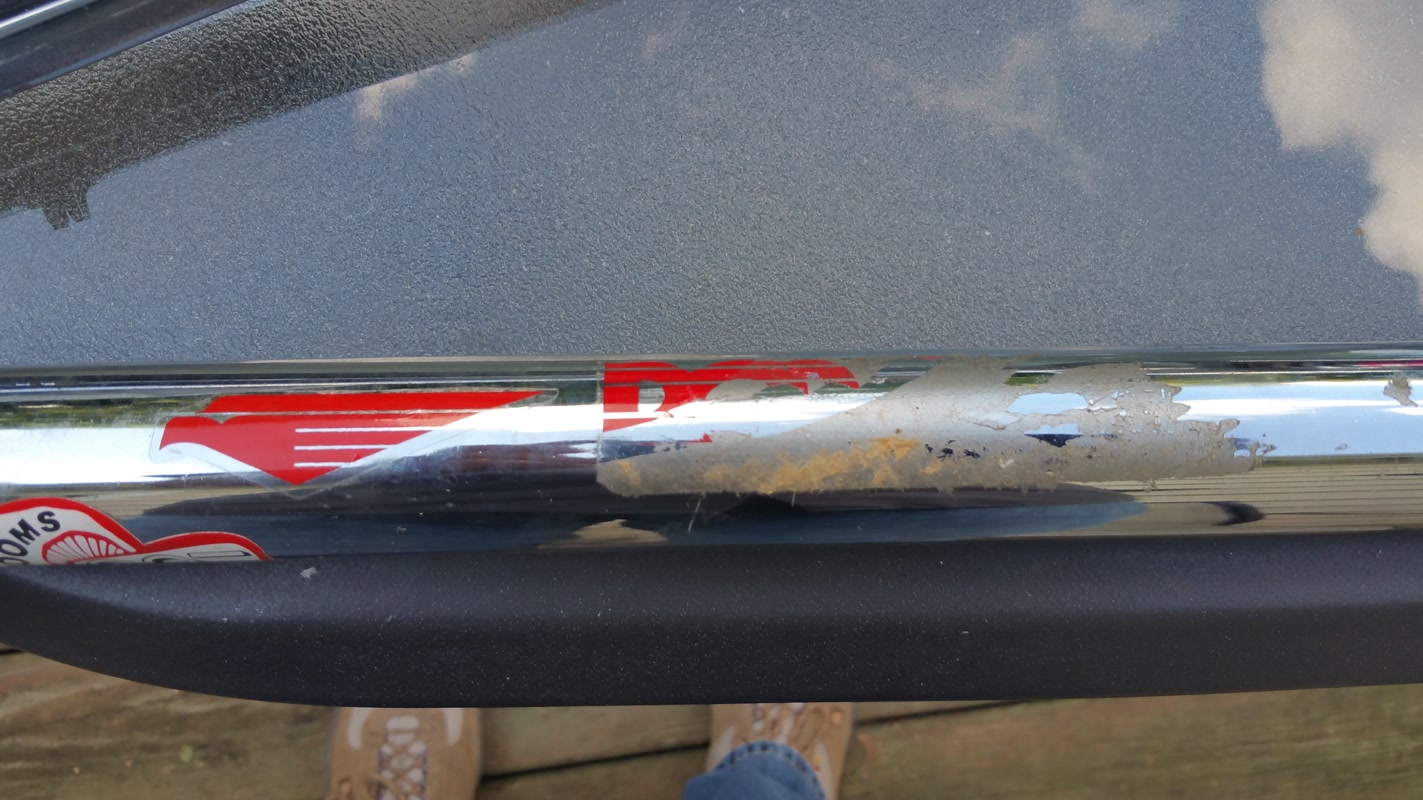
Figure 4, Credit: Michael Tuma
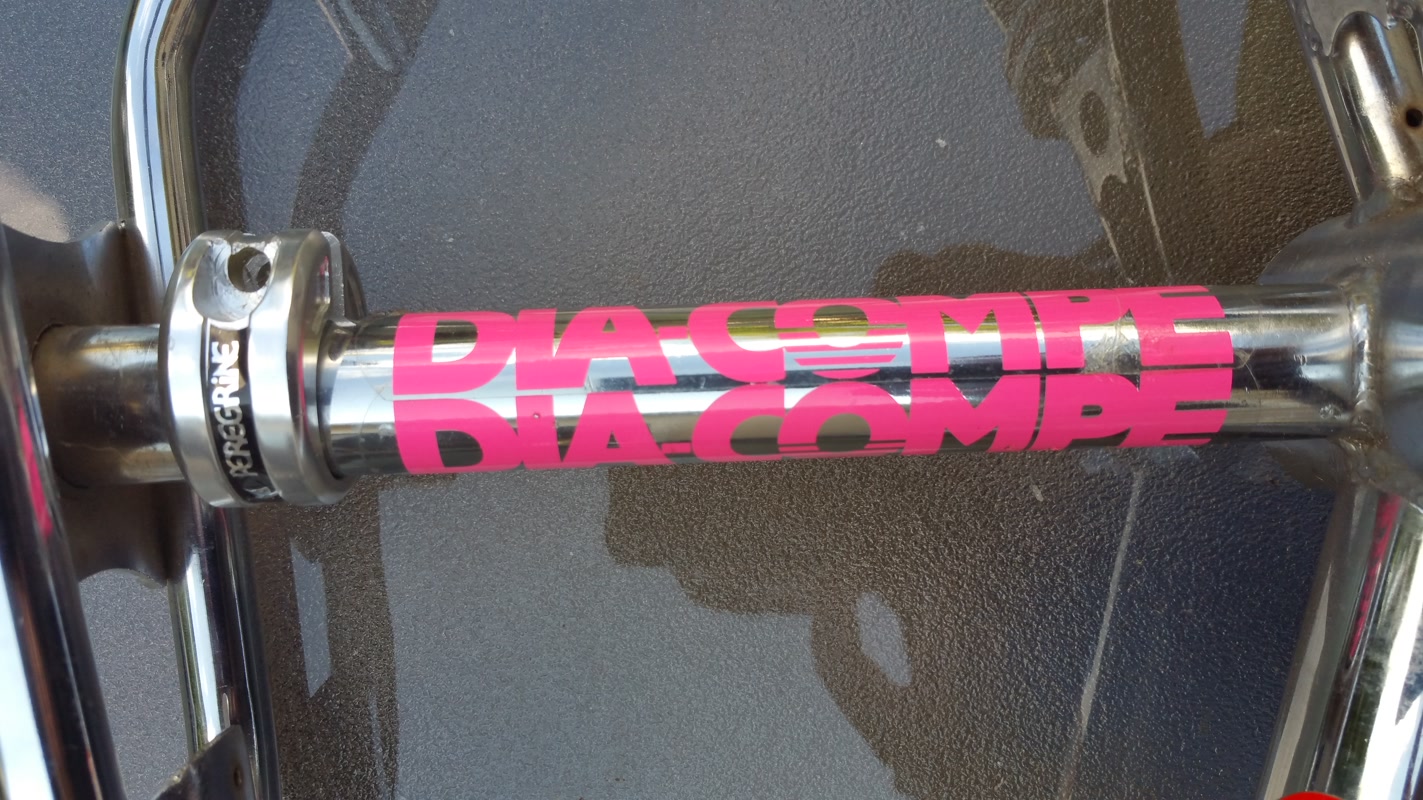
Figure 5, Credit: Michael Tuma
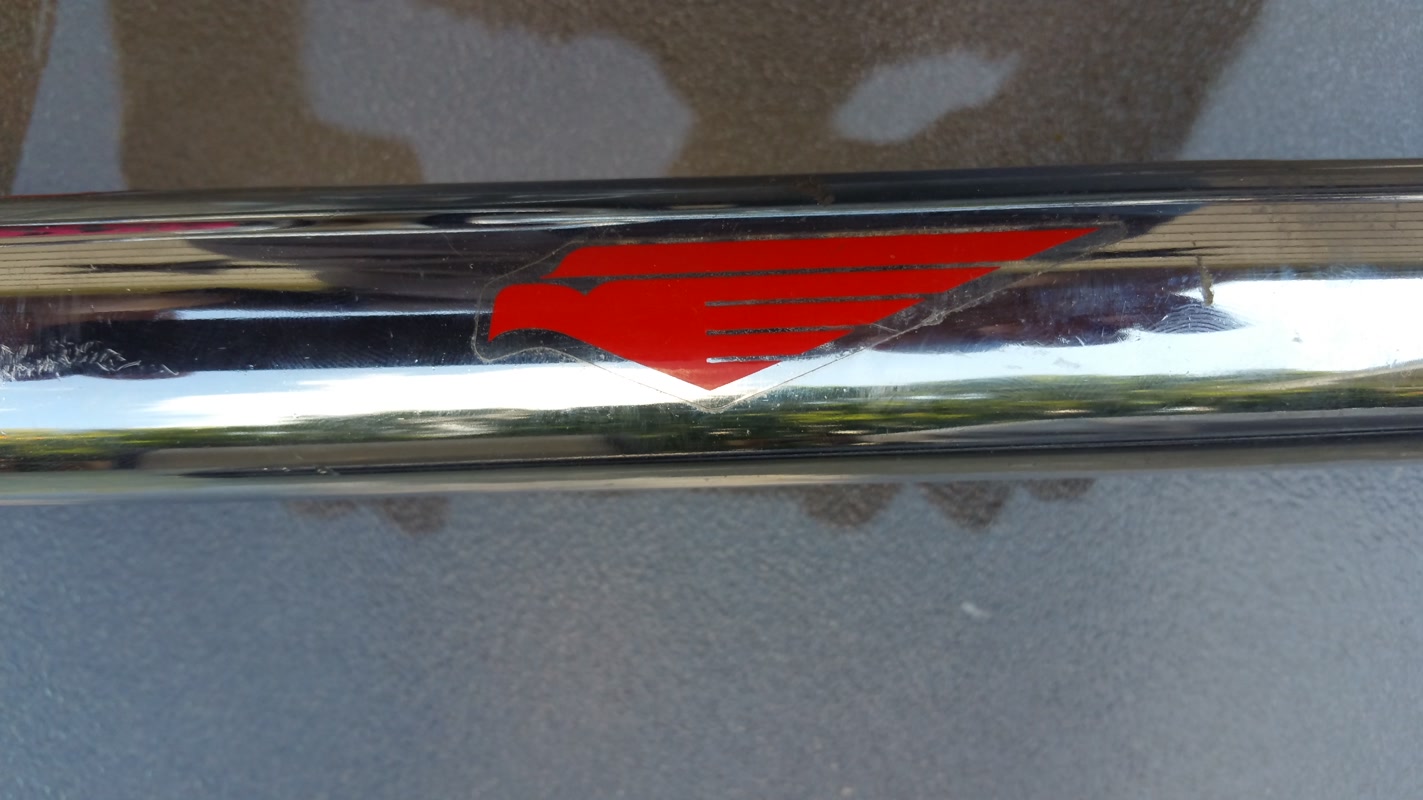
Figure 6, Credit: Michael Tuma
Okay, now we are going to step into the twilight zone... Seat clamps where they do not belong.
See pictures below. That is right, you are not seeing things. There is a Peregrine seat clamp below the
platform on the seat tube, and one on the left chain stay. There are many speculations as why they are
there and how they got there. The truth is, I don't know either. What I do know is that the clamps were
NOT put on the bike after it was constructed and chromed. The aluminum clamps would not be able to handle t
he stress of being stretched far enough to get around the tubing, and there are not any stress fractures.
Besides the decals, they look unused.
Moving on to the rear drop outs. First, why would you grind the opening to be square? Second, why are there
really large washer marks? My speculation is that this frame was mounted for mechanical reasons, like
assembling other parts, or reasons I cannot fathom.
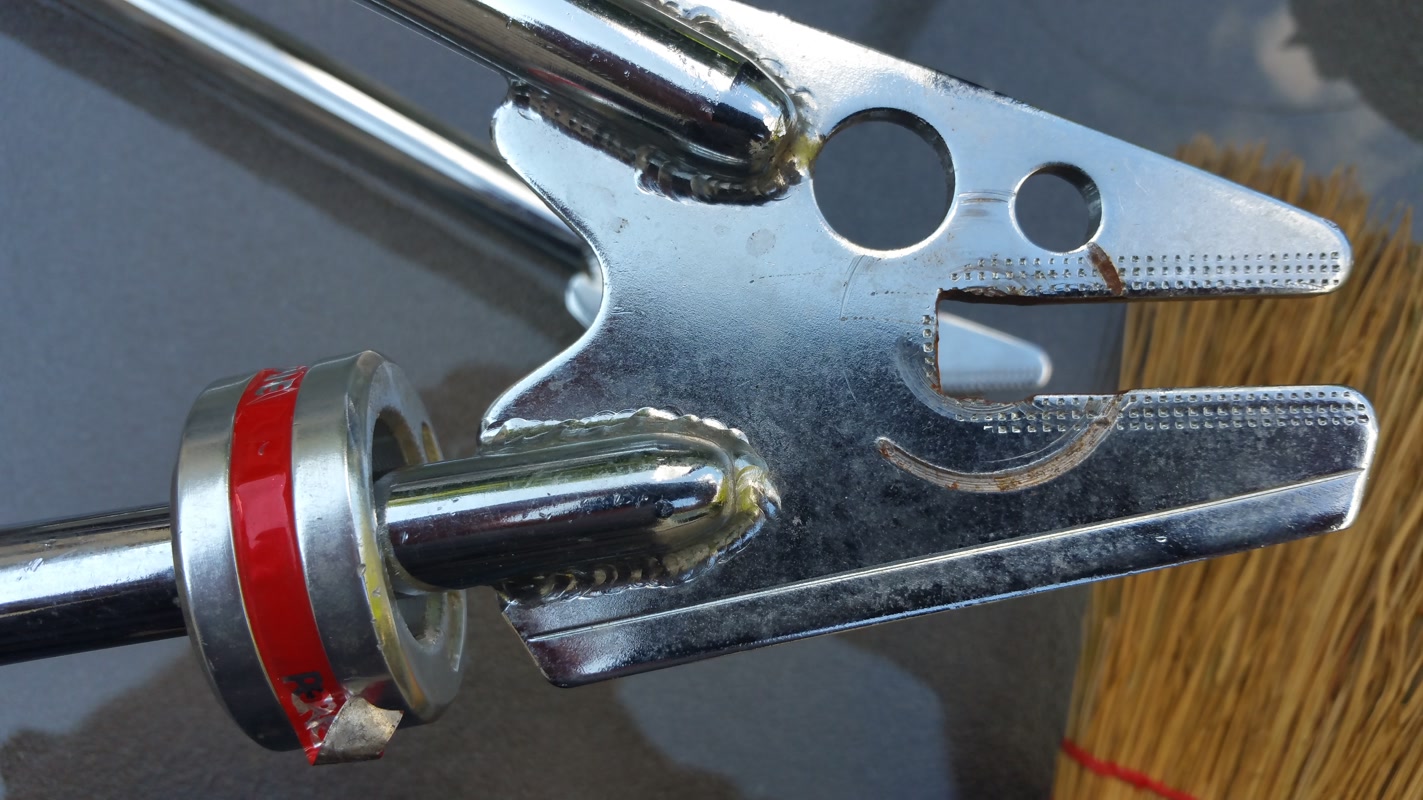
Figure 7, Credit: Michael Tuma
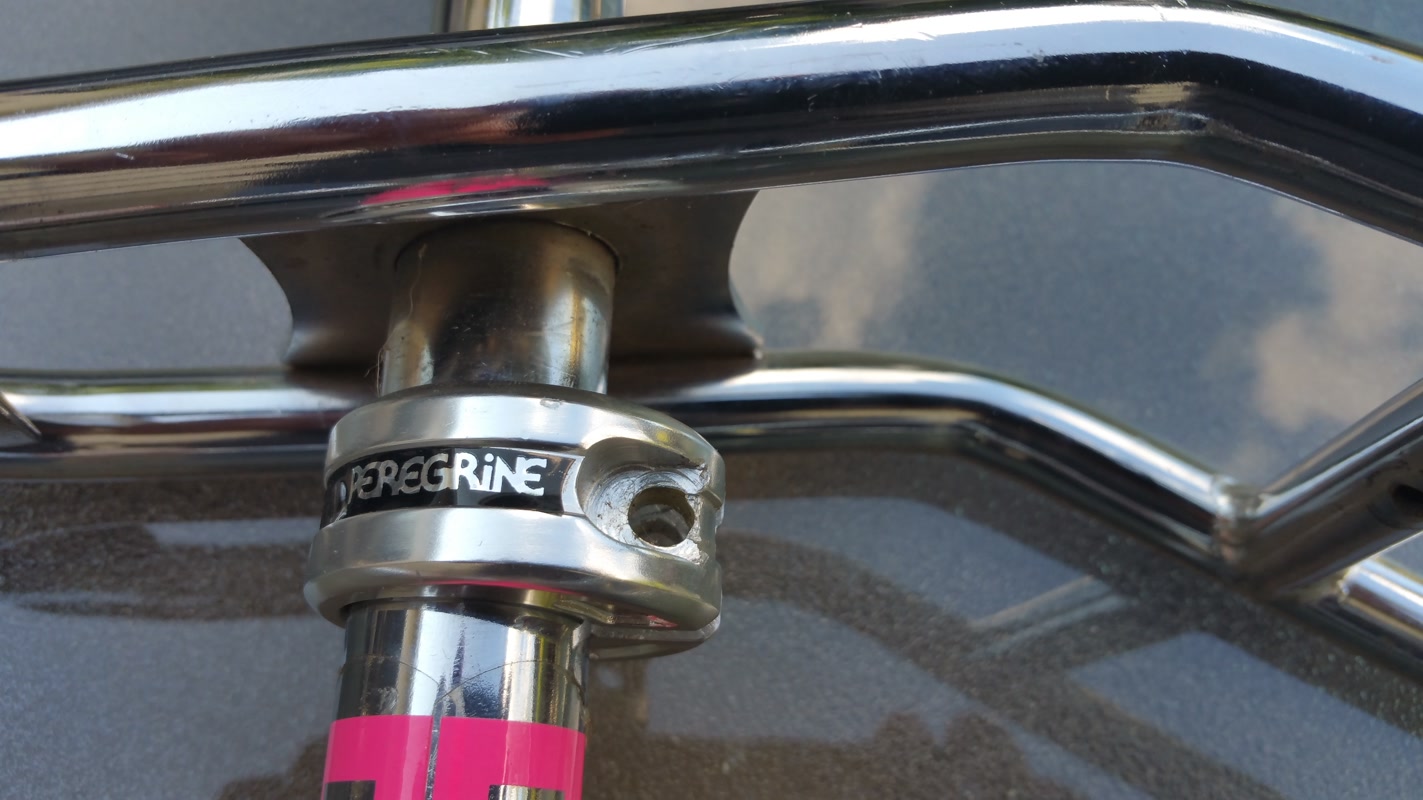
Figure 8, Credit: Michael Tuma
This frame does not have signs a bottom bracket was ever installed.
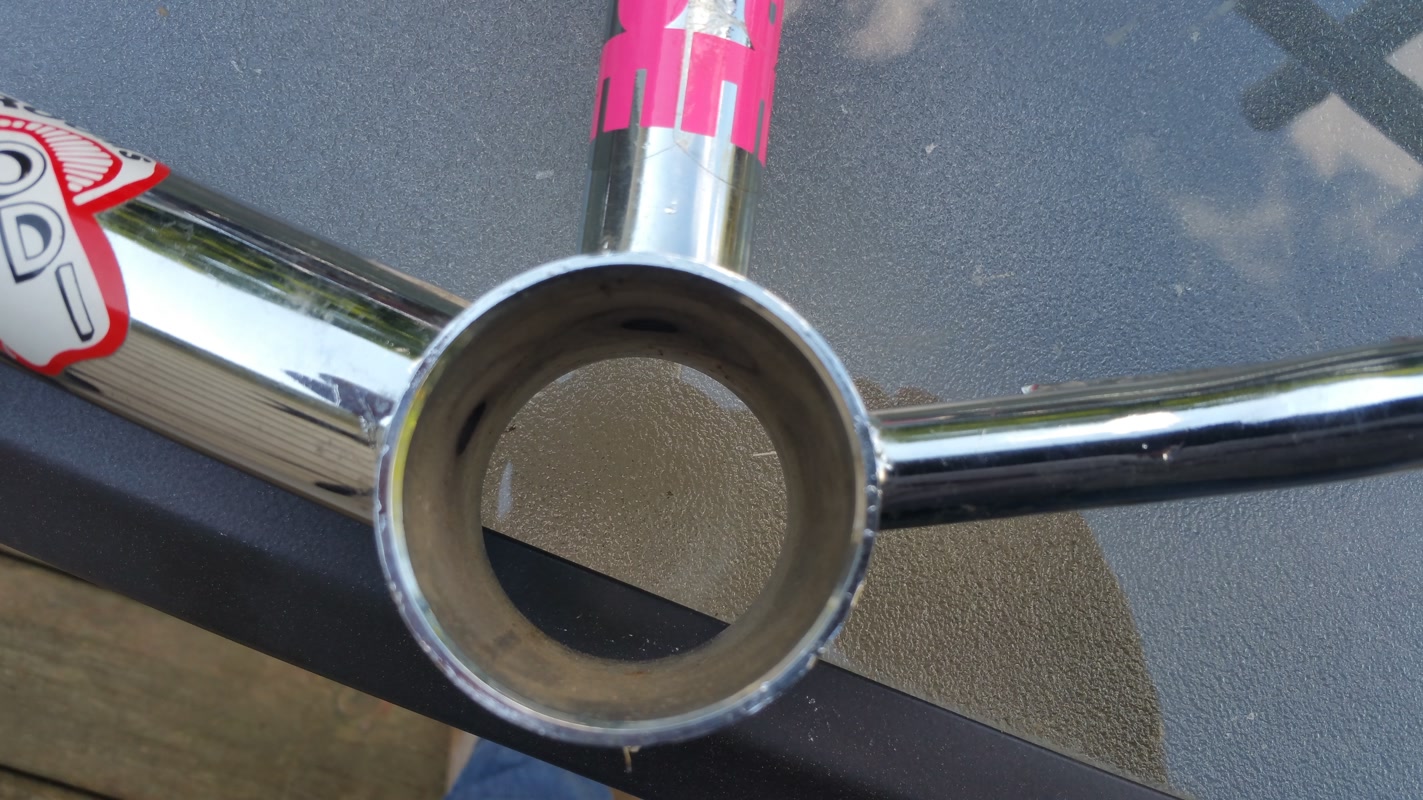
Figure 9, Credit: Michael Tuma
The seat tube did have a seat clamp installed at one time.
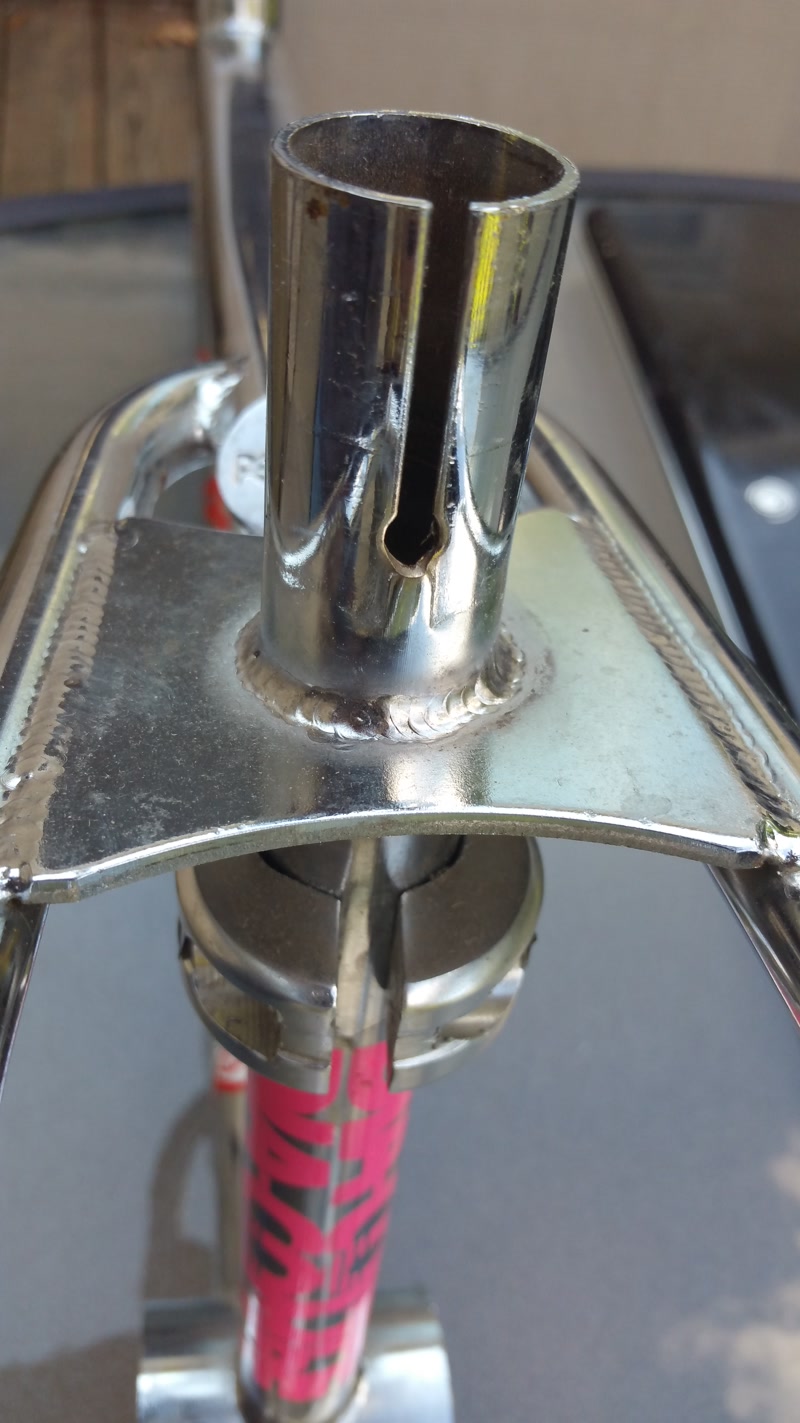
Figure 10, Credit: Michael Tuma
Yes, it is definitely a Peregrine!
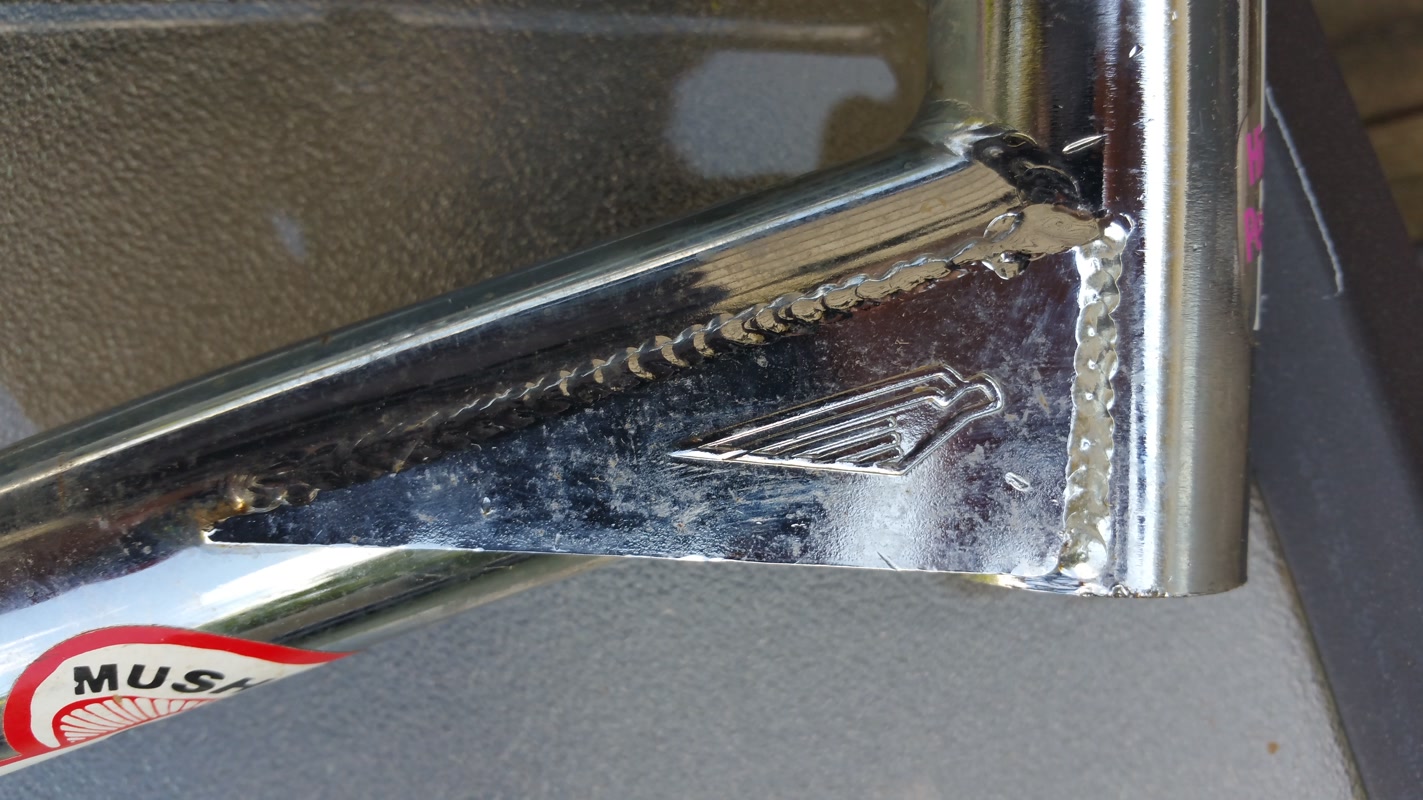
Figure 11, Credit: Michael Tuma
All of the pictures above are before I cleaned it. It did not have any rust to speak of. It was just dirty. The pictures below show it cleaned up.
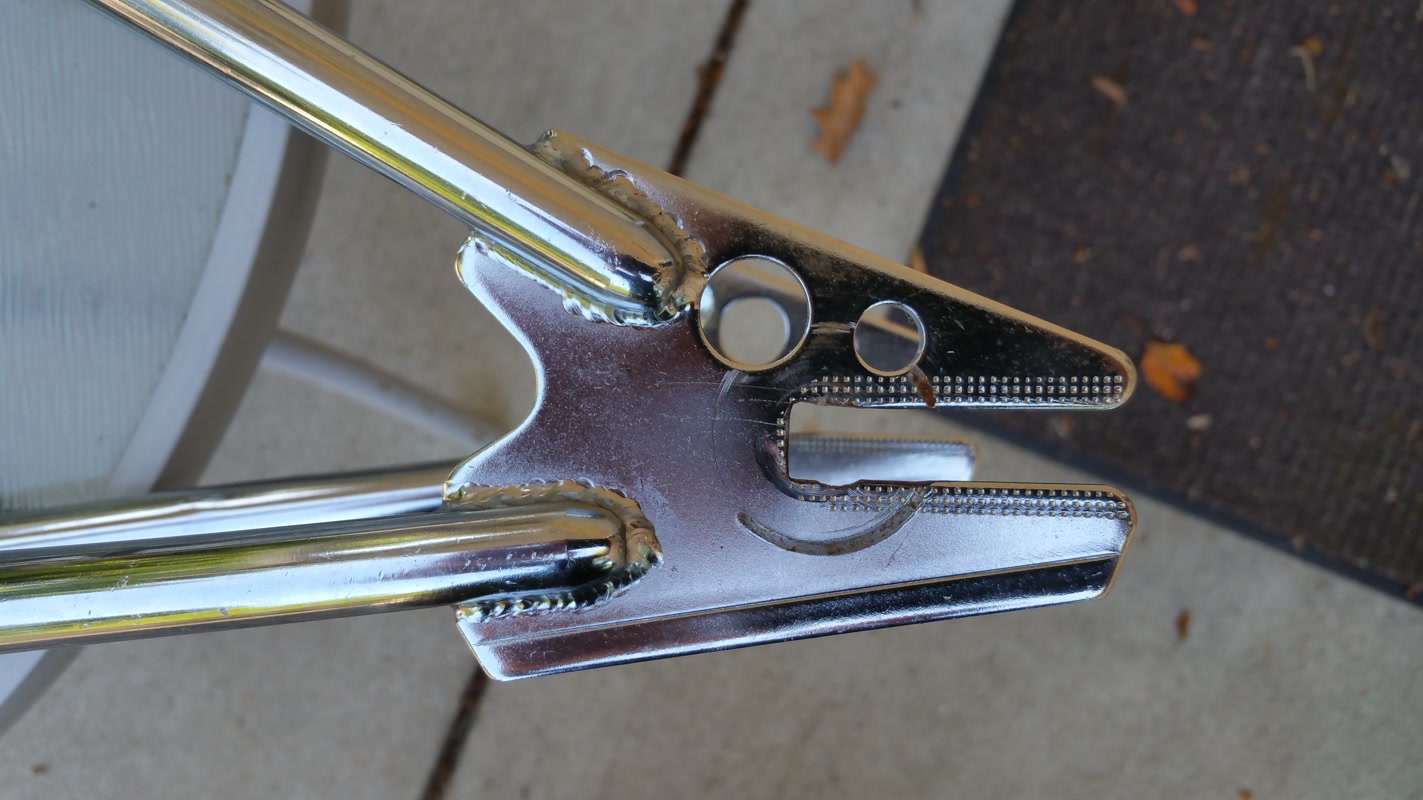
Figure 12, Credit: Michael Tuma
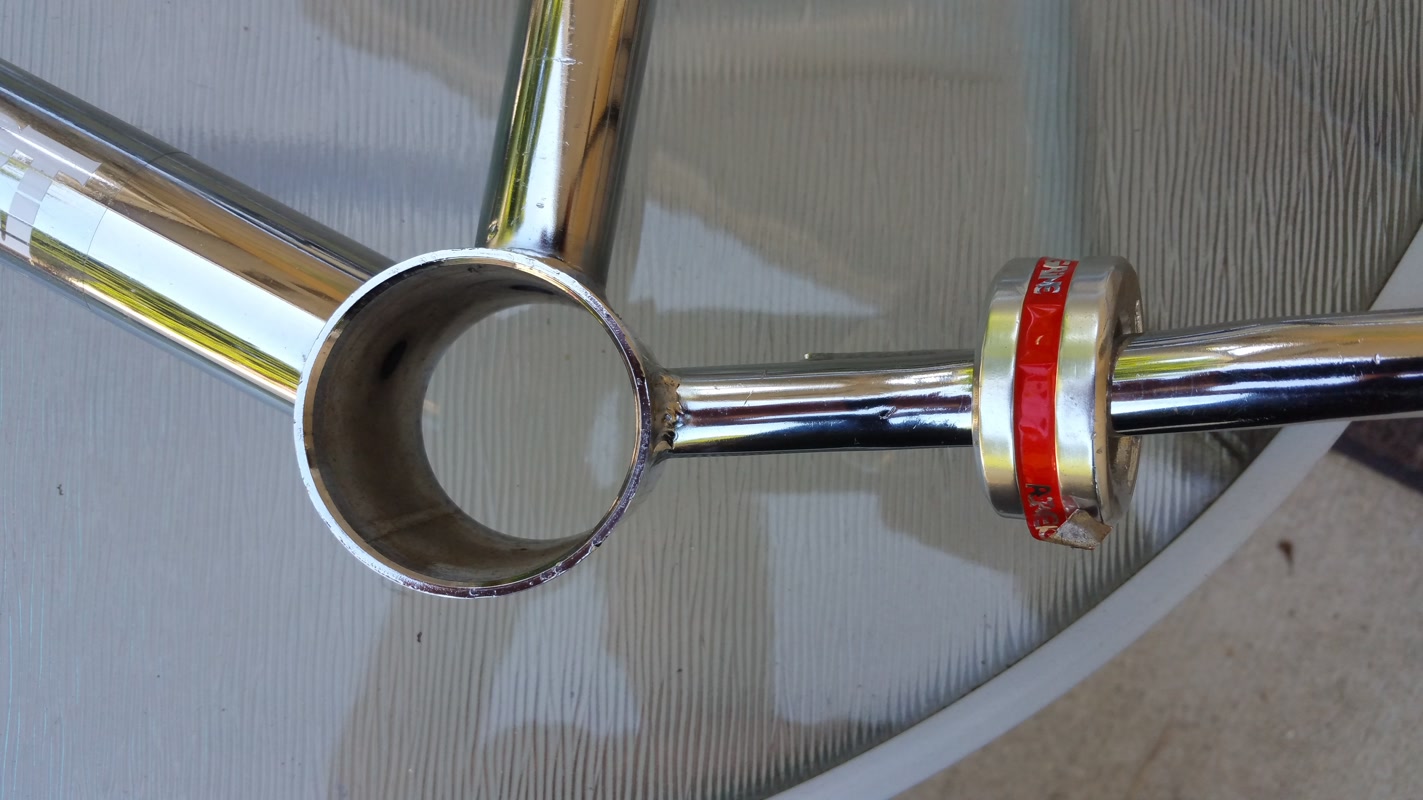
Figure 13, Credit: Michael Tuma
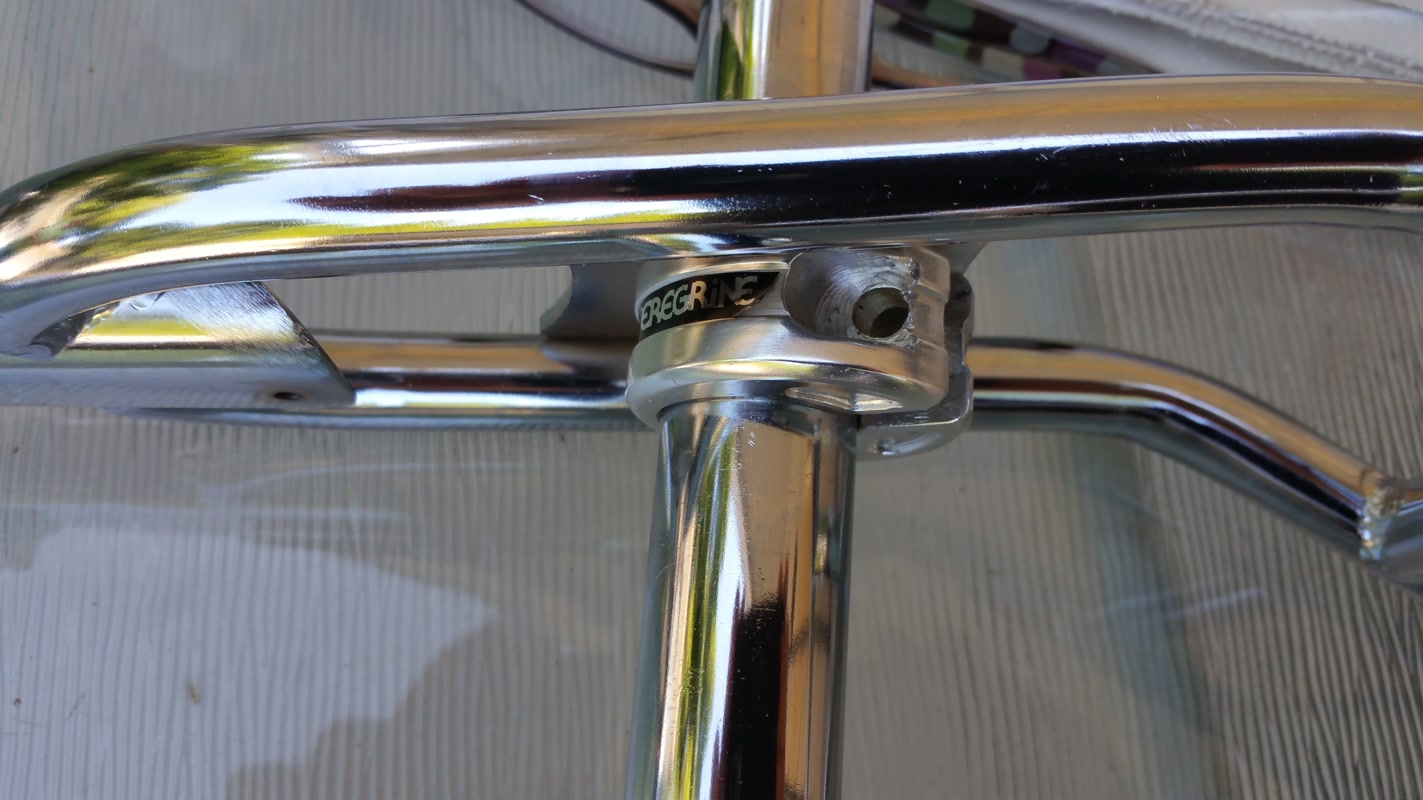
Figure 14, Credit: Michael Tuma
Here is is with the new decals. At this point I was missing the seat tube decal, but I did get one.
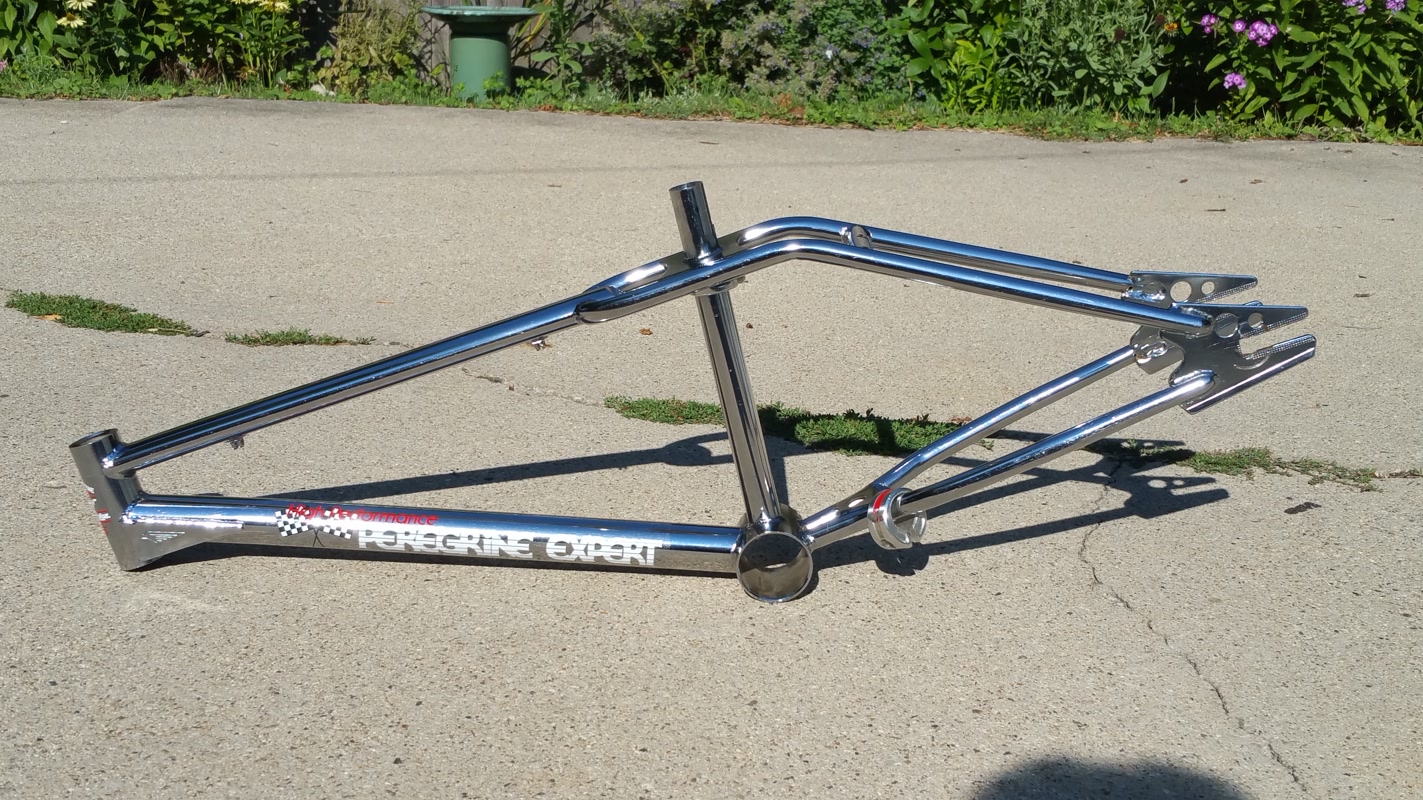
Figure 15, Credit: Michael Tuma
On to the fork. I looked for a fork for a couple of months, impatiently mind you. I could not find an o riginal Peregrine fork, so I settled on an '87 Schwinn Predator fork. I know the fork is not correct, however it is better made, has a cool integrated cable guide and to the untrained eye, looks correct. If I ever install the correct decals, I will put on a correct fork. However this frame may never had a matching fork??
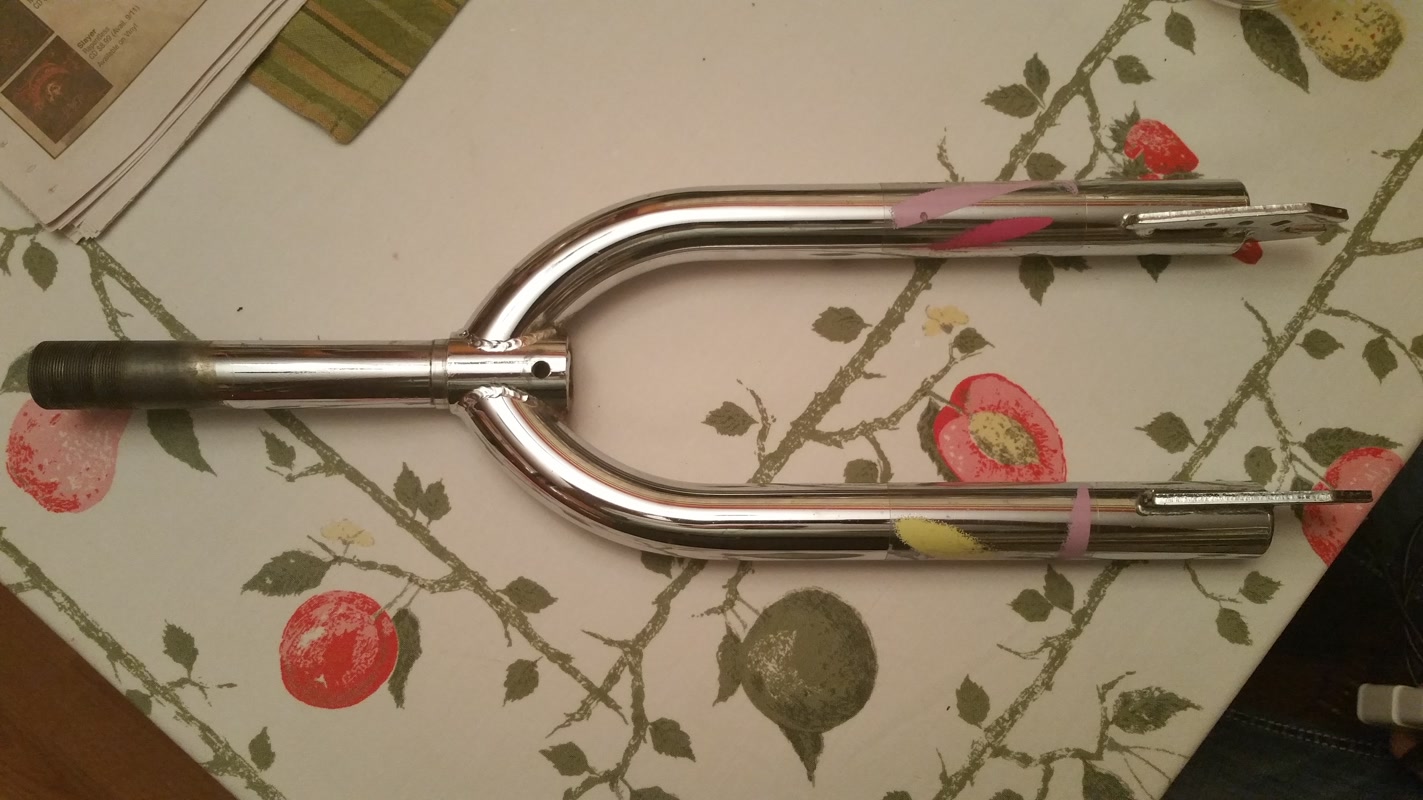
Figure 16, Credit: Michael Tuma
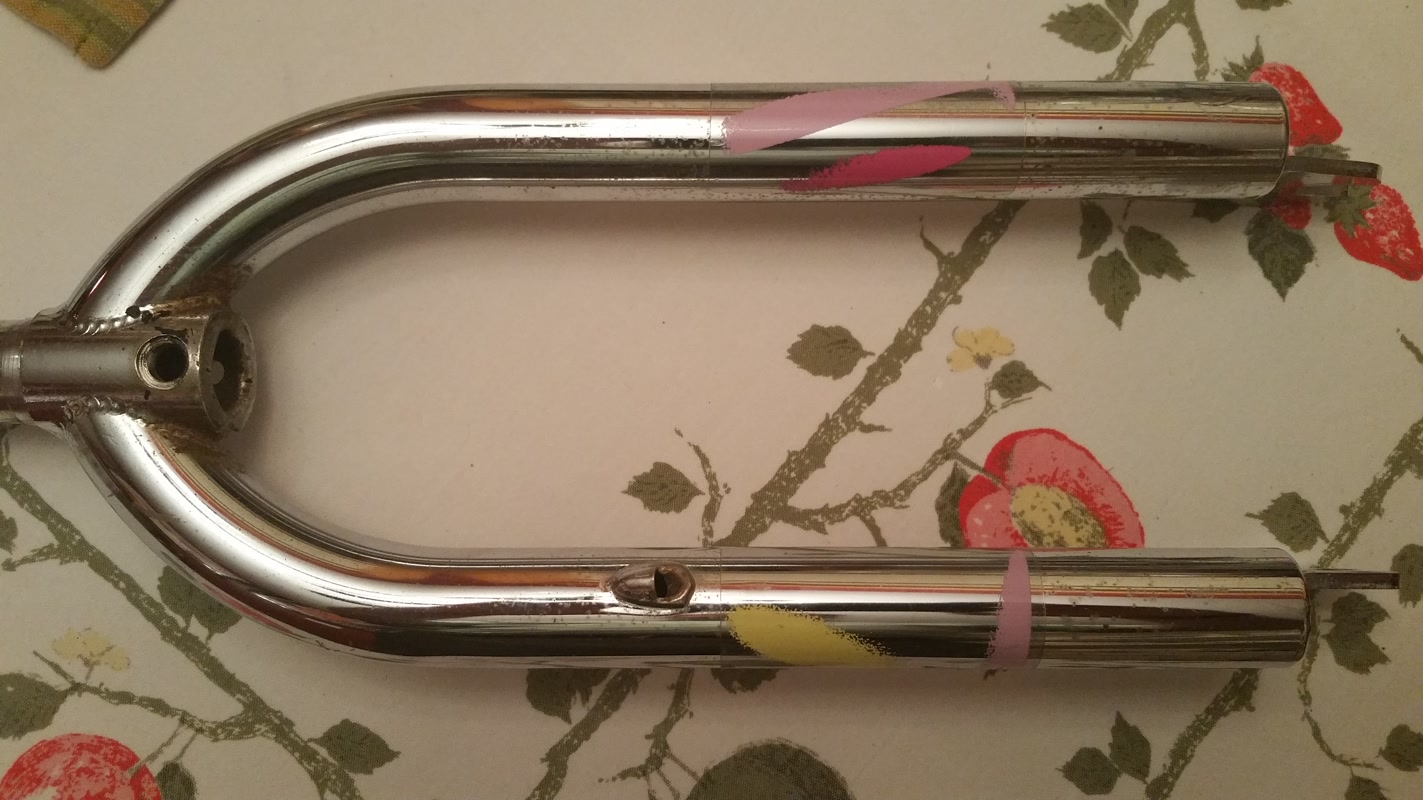
Figure 17, Credit: Michael Tuma
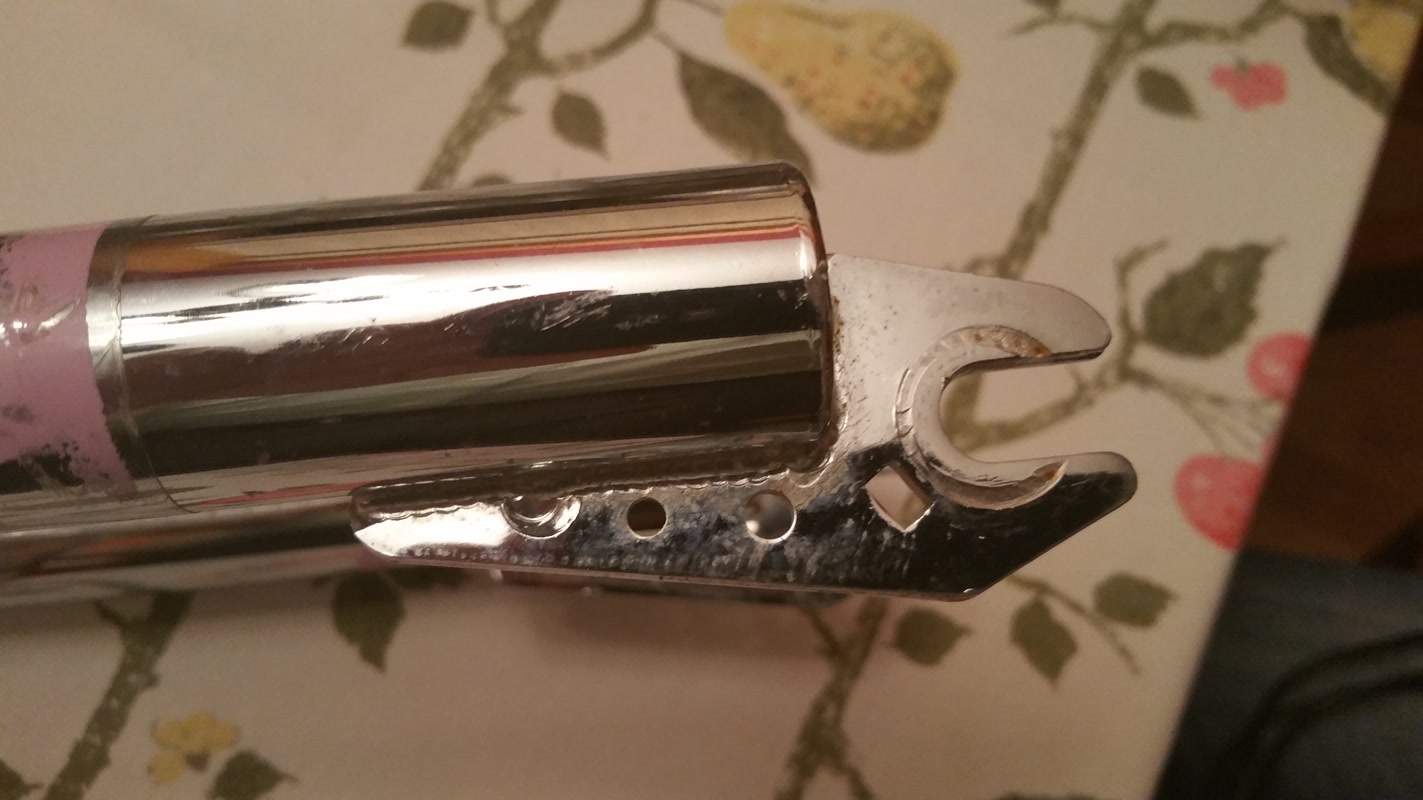
Figure 18, Credit: Michael Tuma
Schwinn decals removed and Peregrine decals applied.
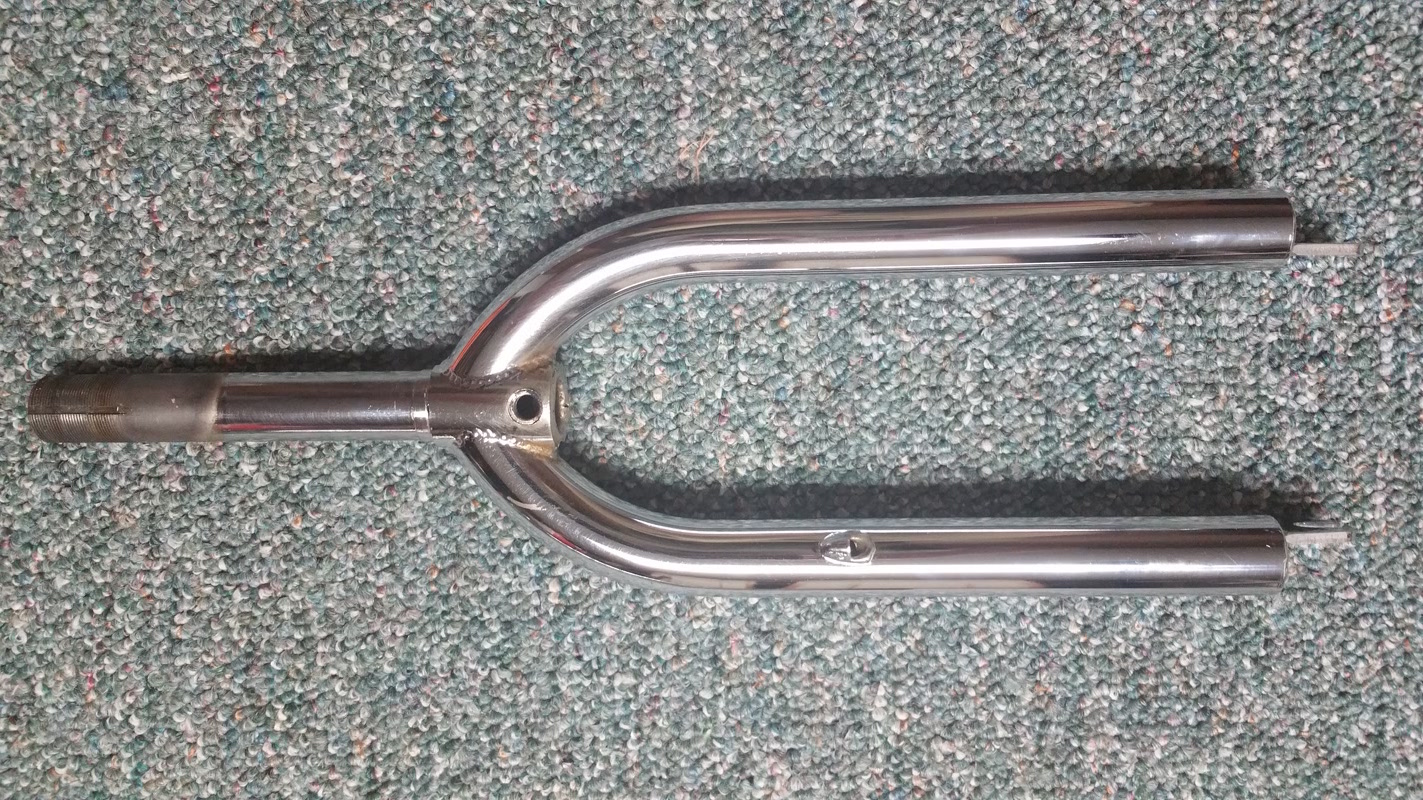
Figure 19, Credit: Michael Tuma
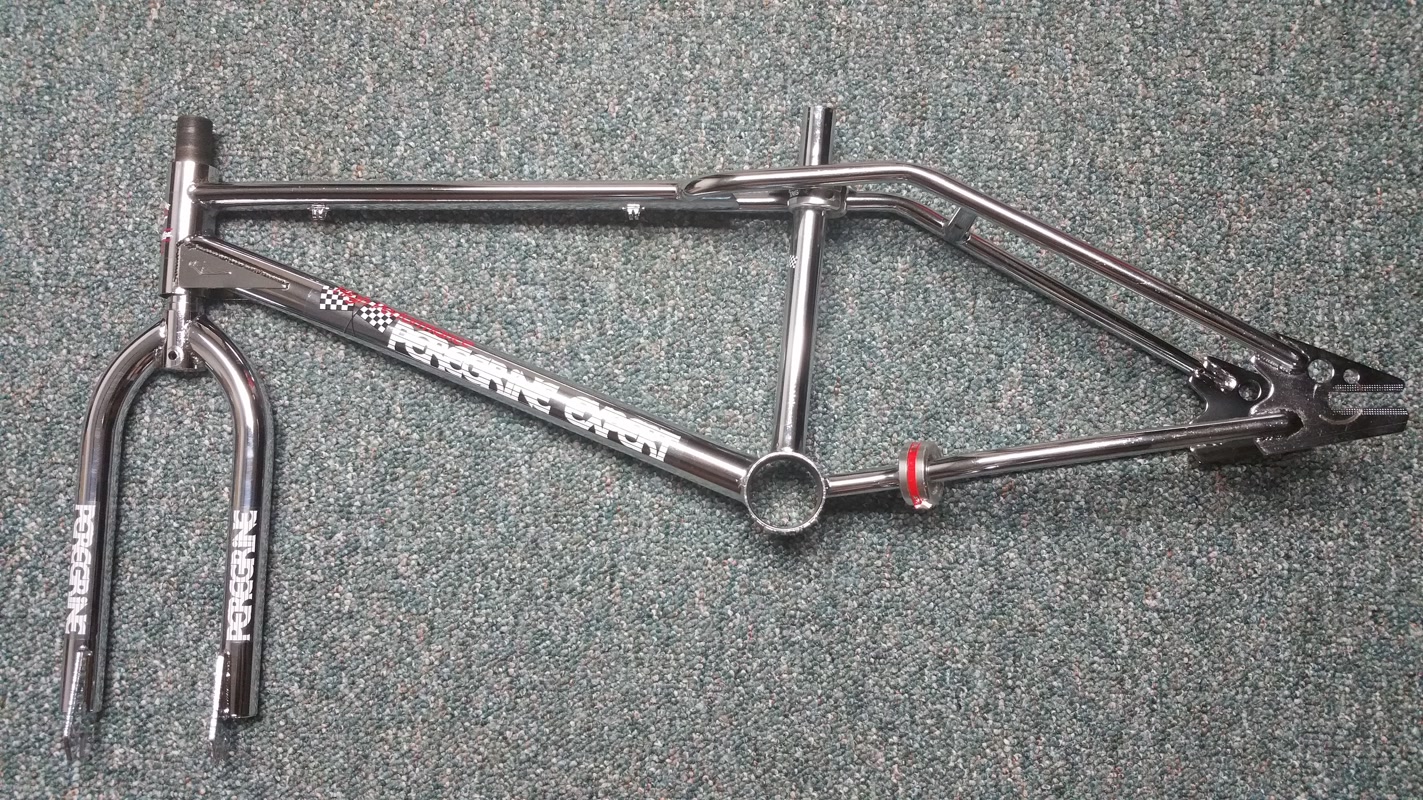
Figure 20, Credit: Michael Tuma
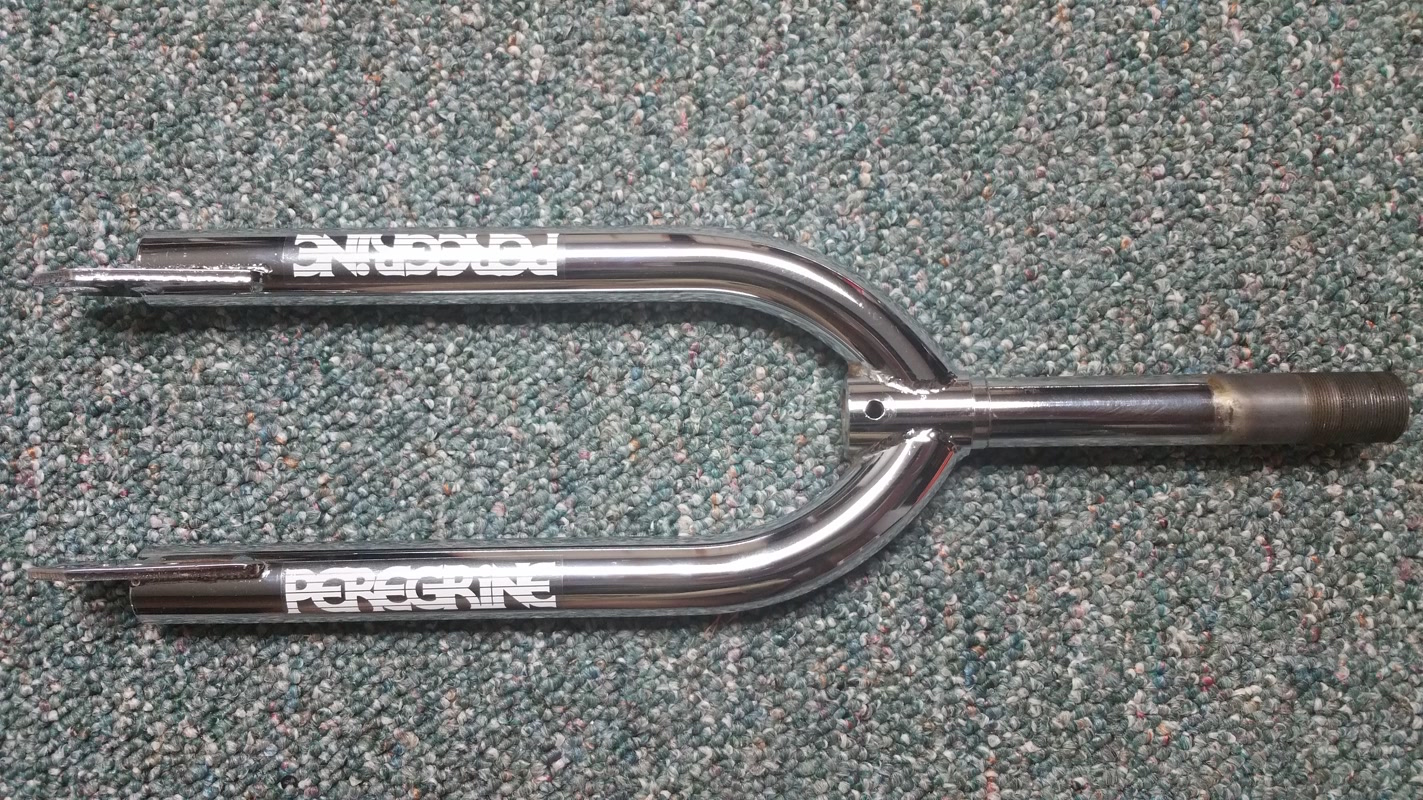
Figure 21, Credit: Michael Tuma

Figure 22, Credit: Michael Tuma
Picture of parts I have collected for this bike. I have not tried to stay part correct or era correct at all. This build is purely for fun and show.
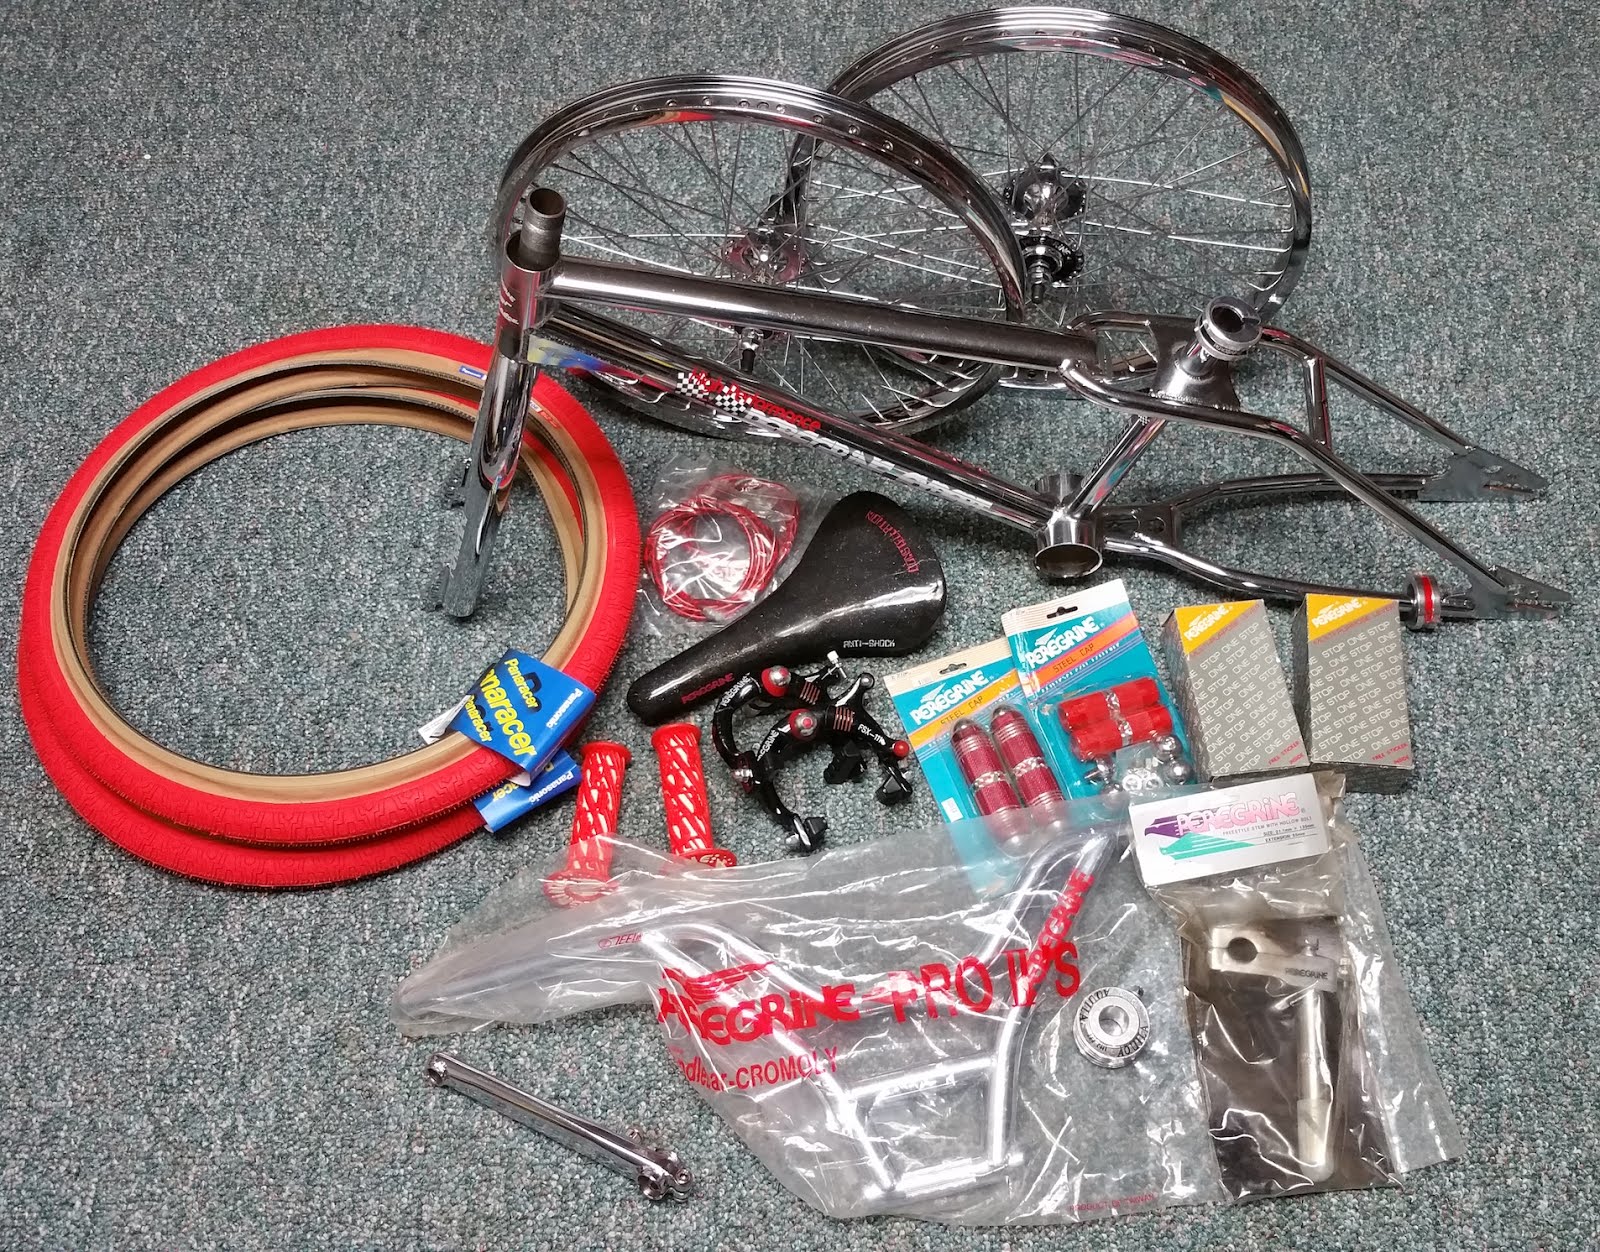
Figure 23, Credit: Michael Tuma
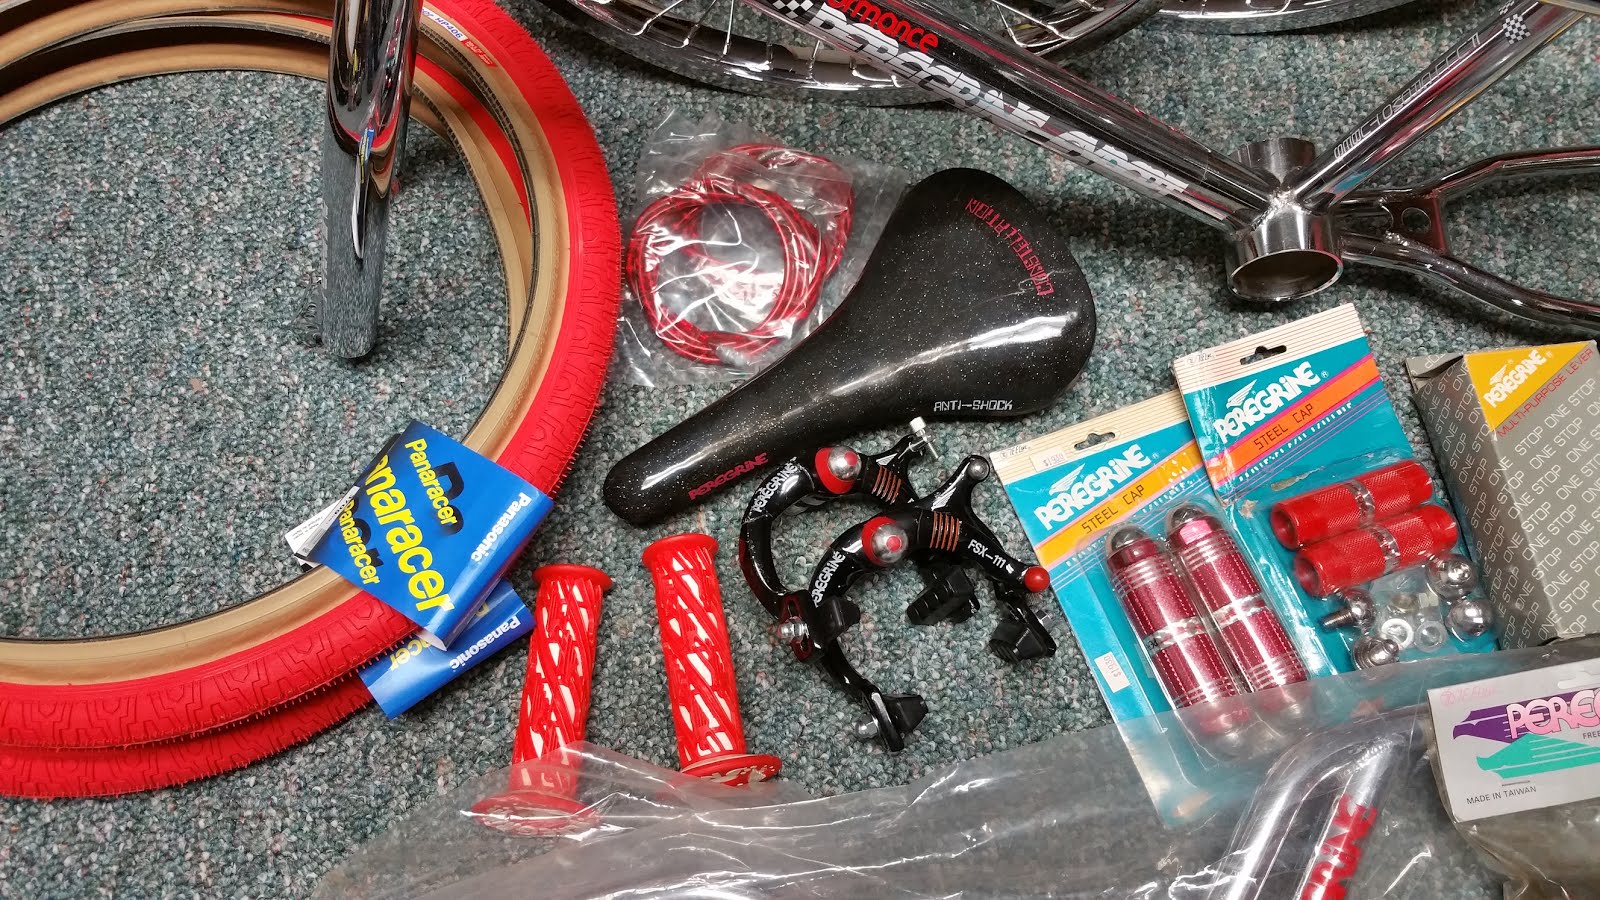
Figure 24, Credit: Michael Tuma
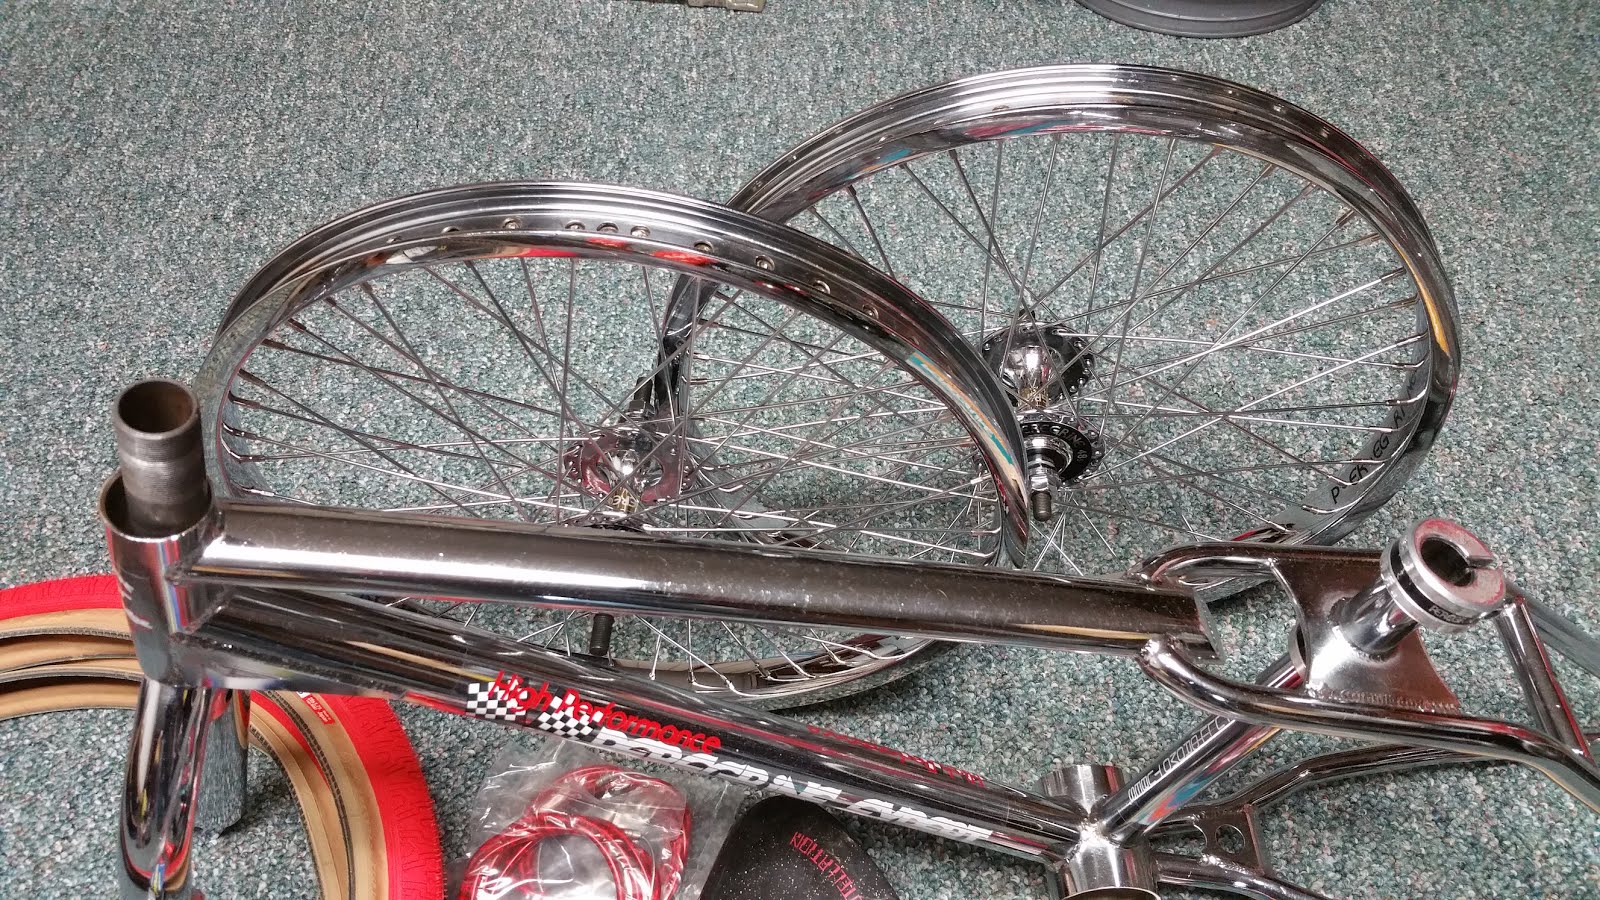
Figure 25, Credit: Michael Tuma
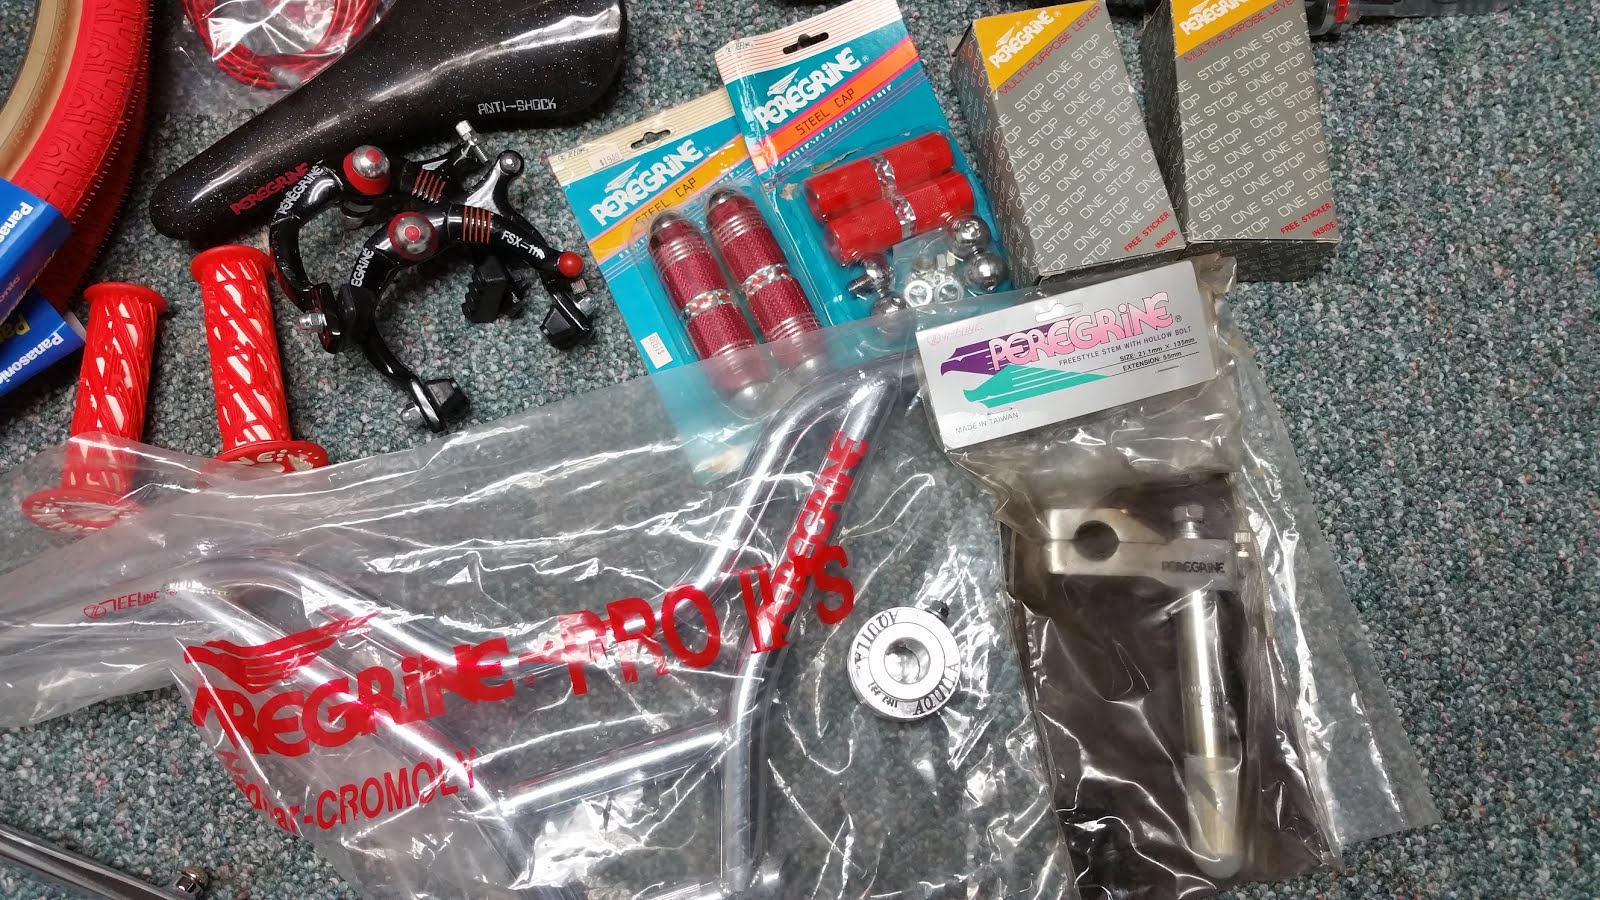
Figure 26, Credit: Michael Tuma
Peregrine made Cosmic brake cables in red, but they are relatively hard to find. I am not sure I would have wanted to cut apart an original set anyway. I also have not been able to find gyro cables in cosmic red. I am not sure anyone made them, so I bought a set of generic cosmic cables and made my own. You can see the knarp I had to use in the left brake lever.
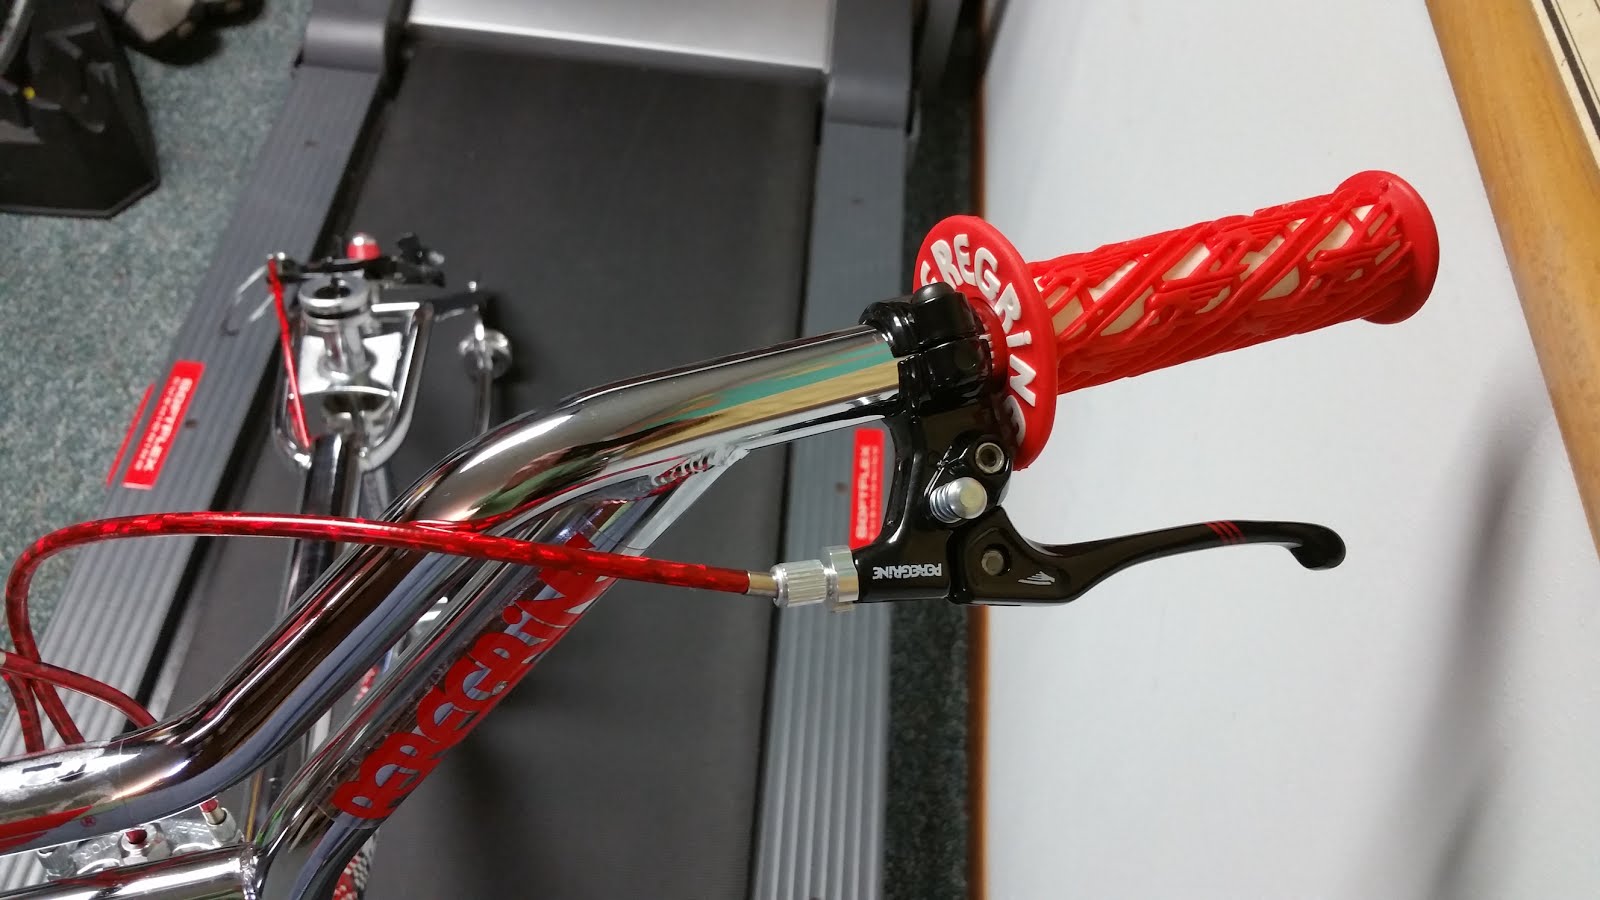
Figure 27, Credit: Michael Tuma
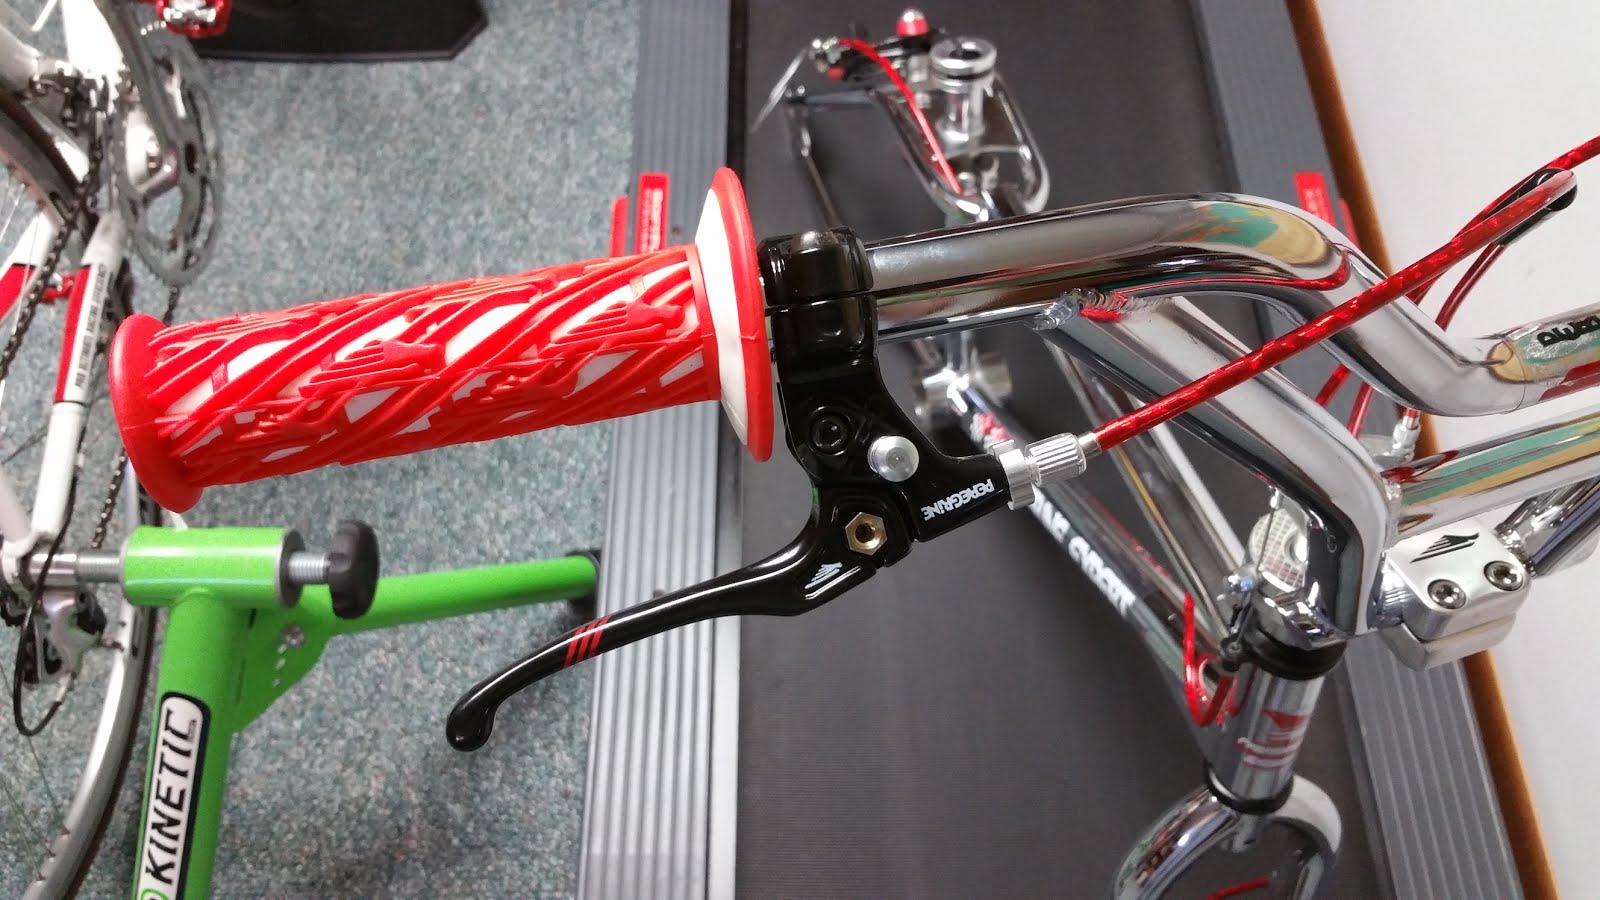
Figure 28, Credit: Michael Tuma
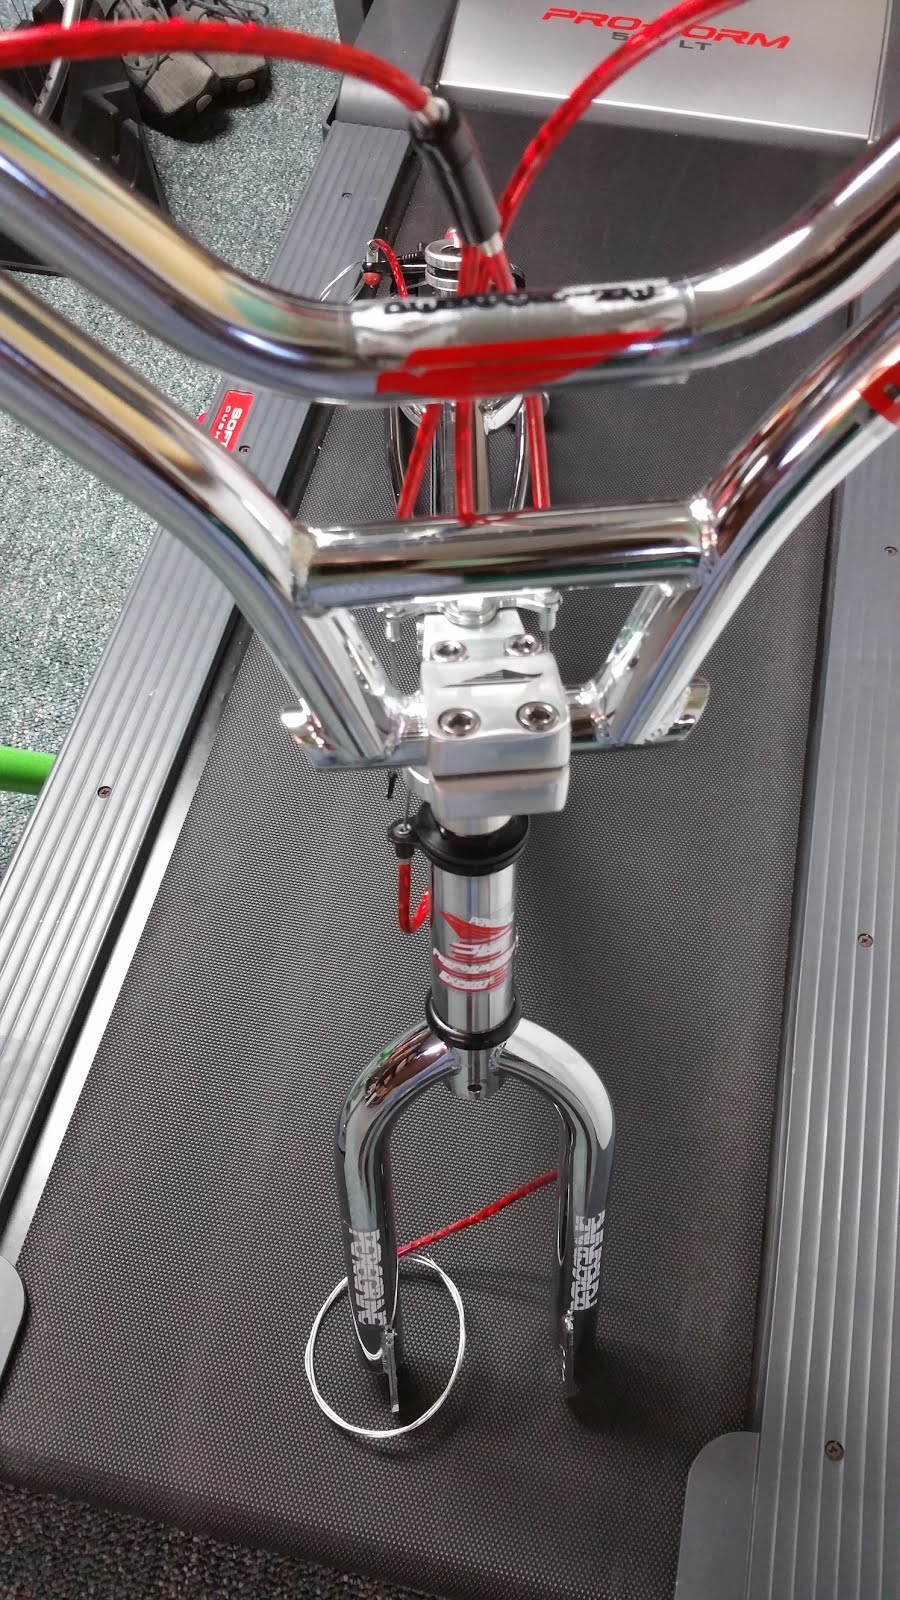
Figure 29, Credit: Michael Tuma
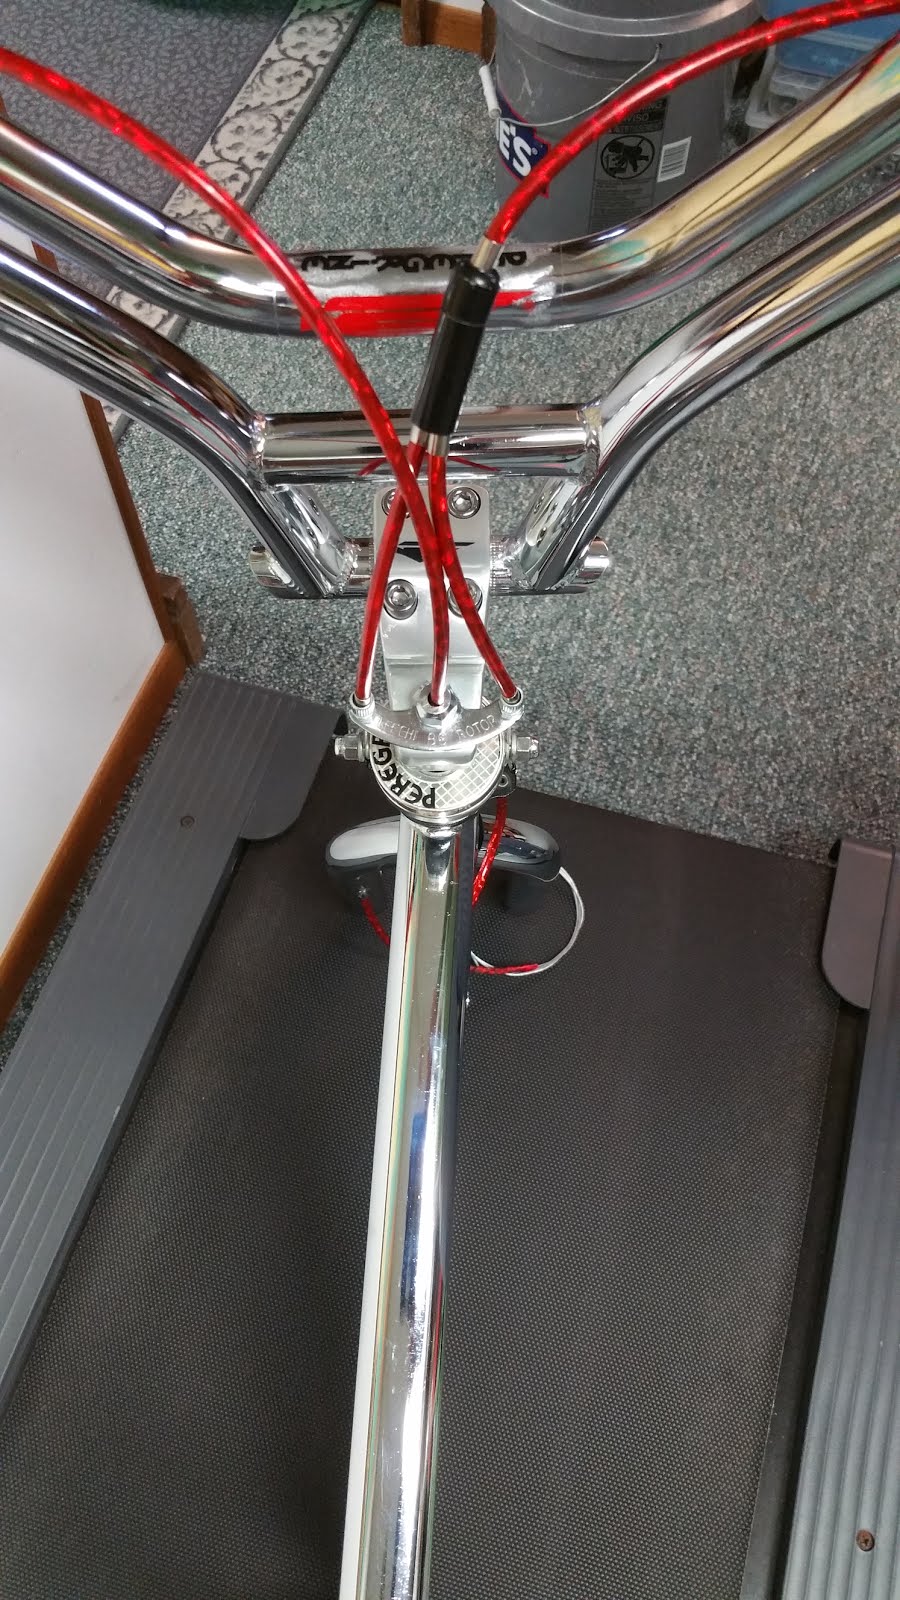
Figure 30, Credit: Michael Tuma
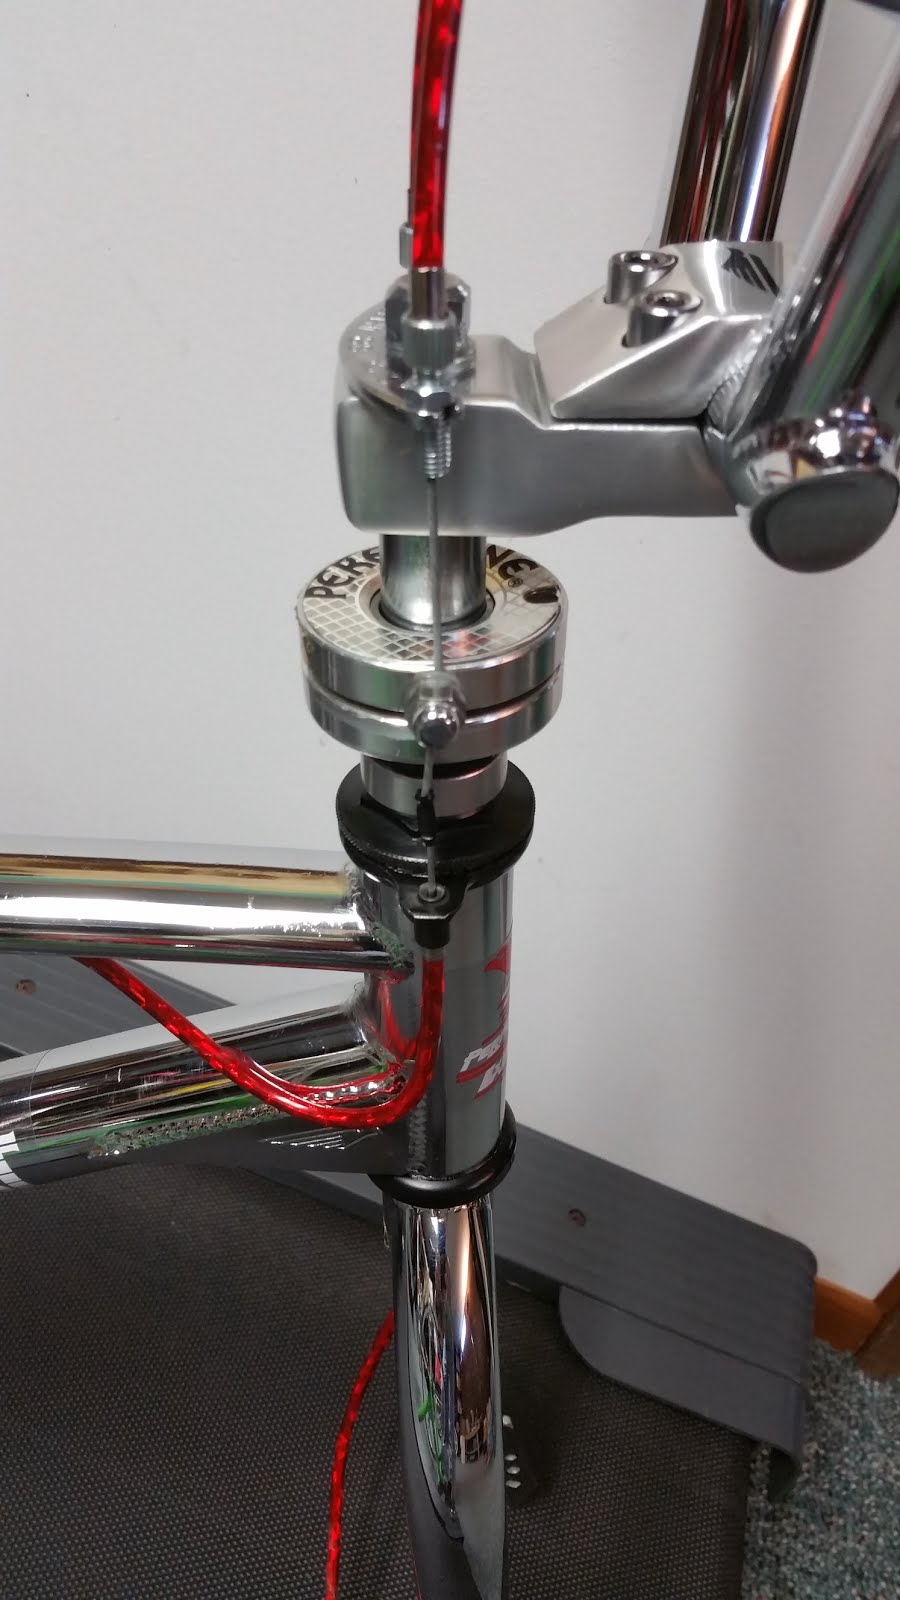
Figure 31, Credit: Michael Tuma
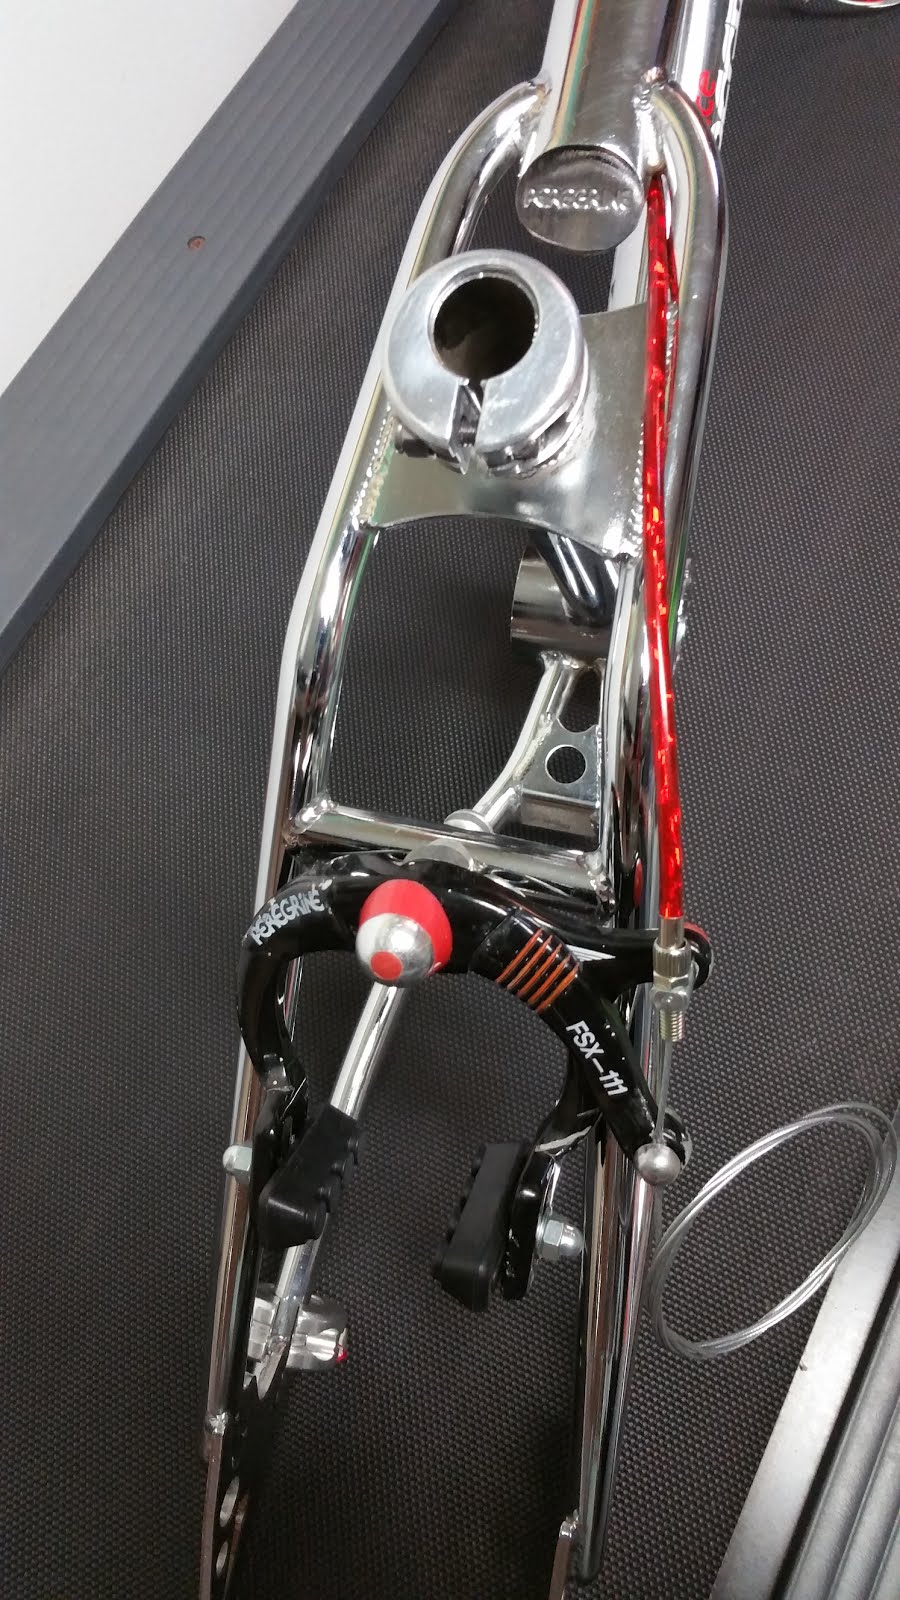
Figure 32, Credit: Michael Tuma
The next part of this process is finding cranks. My main issue is paying an exorbitant price for Peregrine cranks. They are so popular that recently a complete set sold for $800 on ebay.com. I managed to find two right orphans for a really good price. The hard part was finding a match. My theory is they came in pairs, so the other side is out there somewhere.
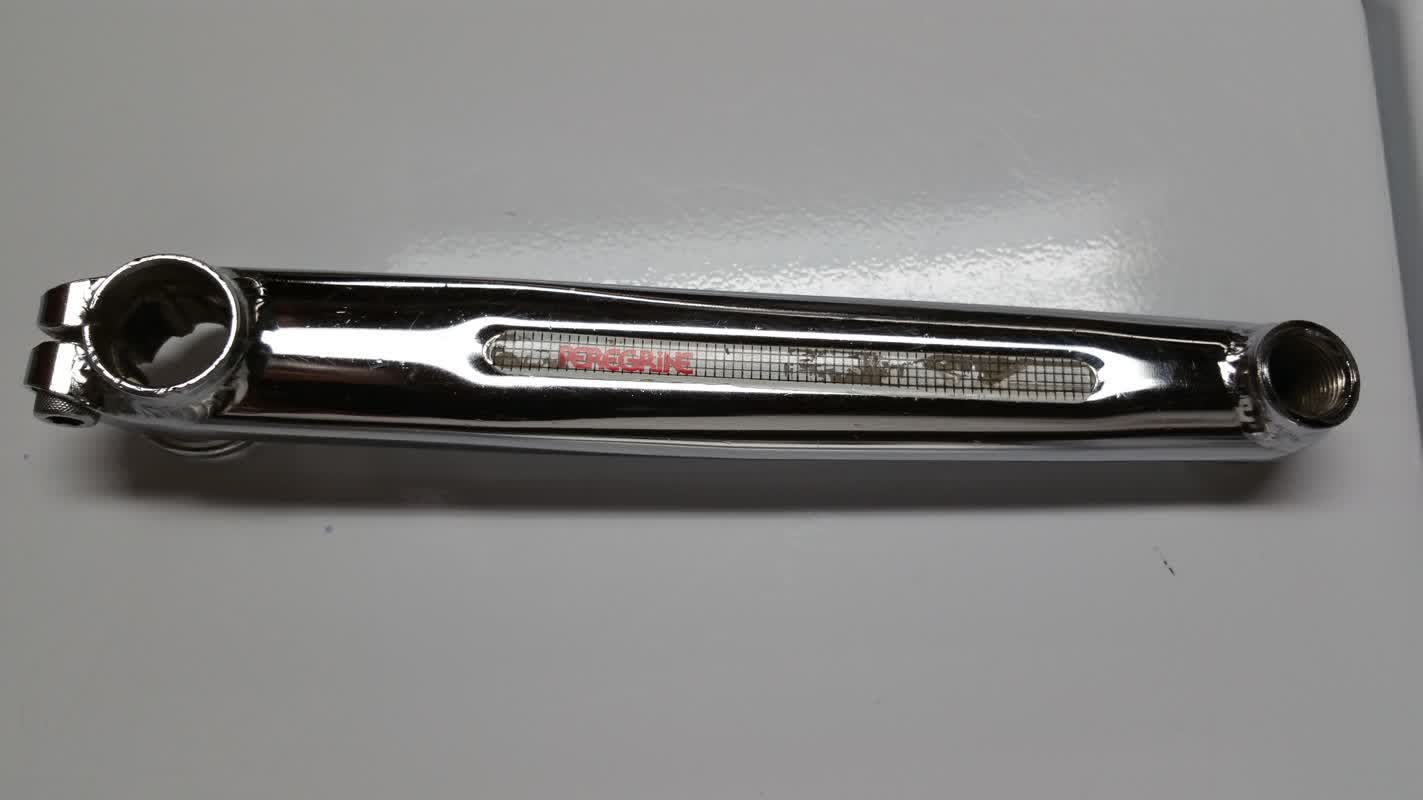
Figure 33, Credit: Michael Tuma
I was able to purchase a damaged left crank from a www.bmxmuseum.com member. The spindle boss was so rusted that when it was sand blasted, it disintegrated. One of my neighbors helped me make a new spindle boss.
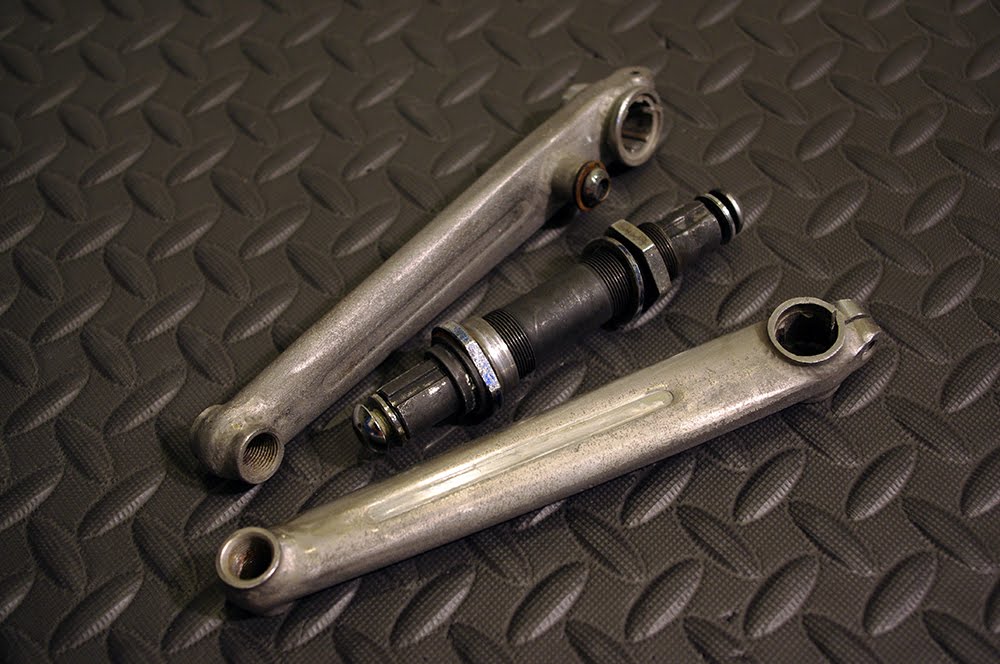
Figure 34, Credit: Michael Tuma
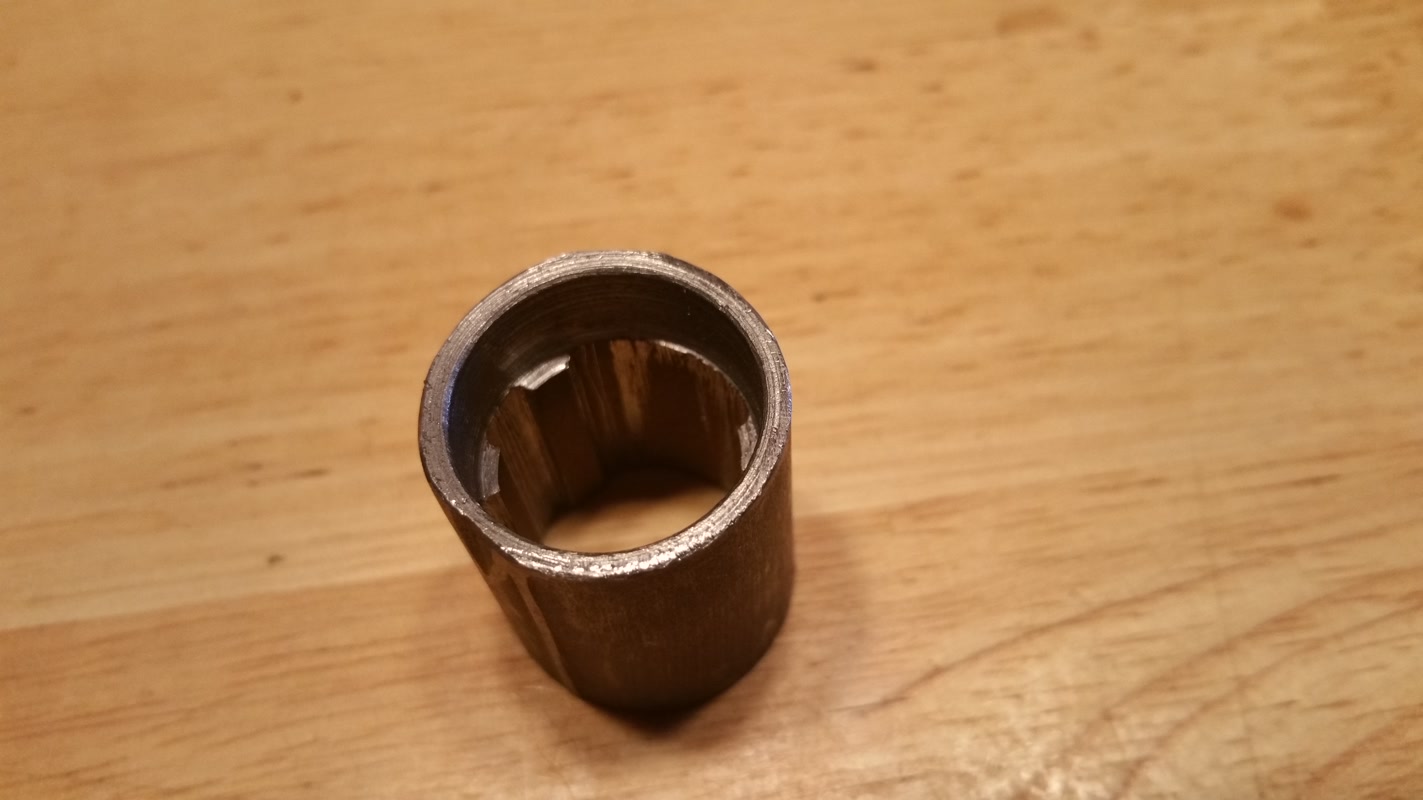
Figure 35, Credit: Michael Tuma
He then cut out the old one and welded in the new boss. And off to get re-chromed they went.
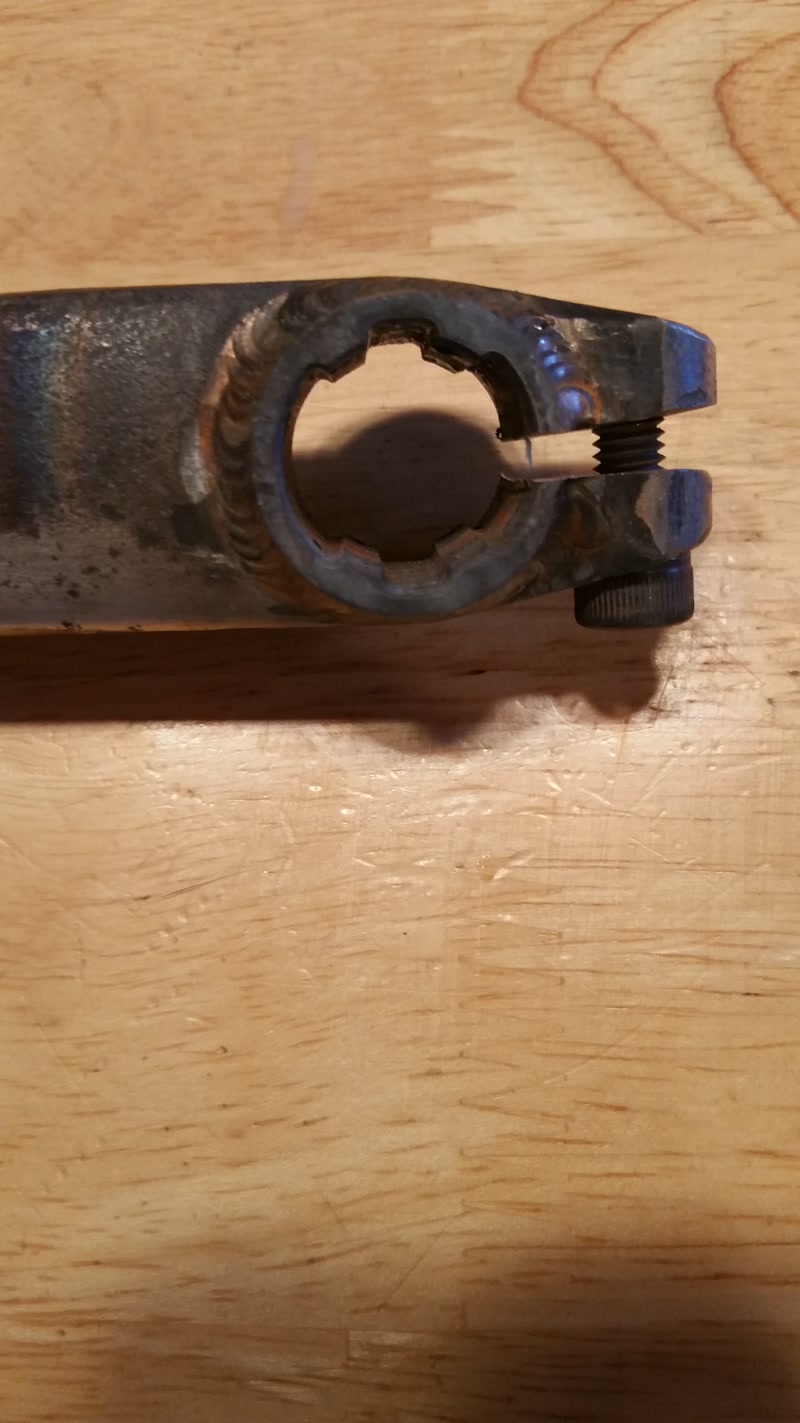
Figure 36, Credit: Michael Tuma
Here they are after re-chroming. Now I need to find crank decals. Thank you to http://www.badgermetalfinishing.net/ for the great work!
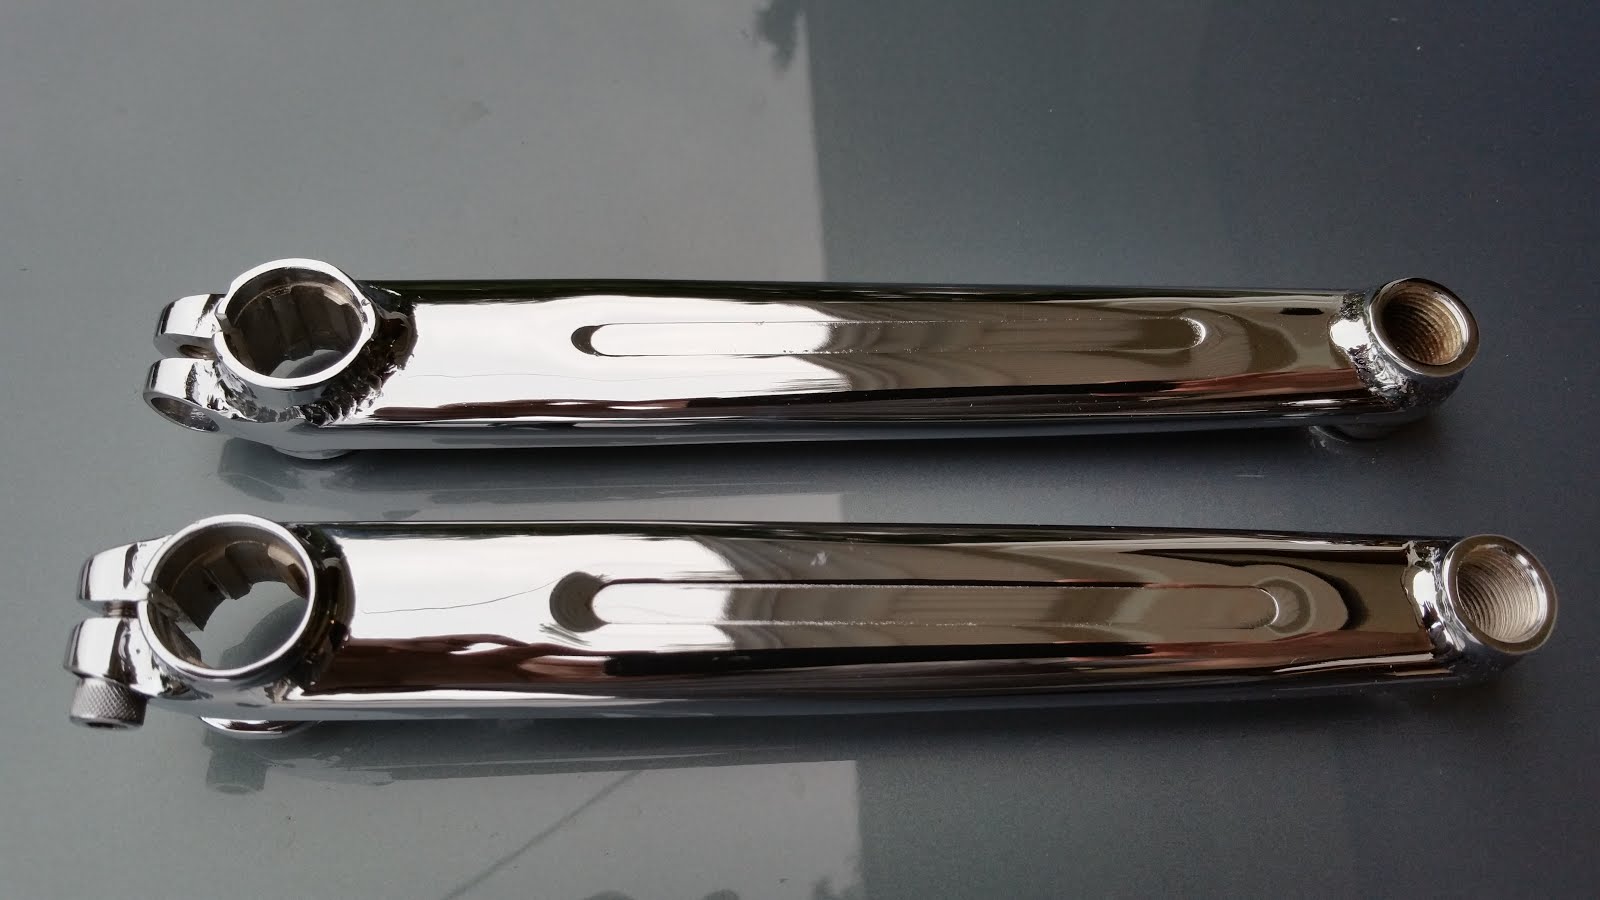
Figure 37, Credit: Michael Tuma
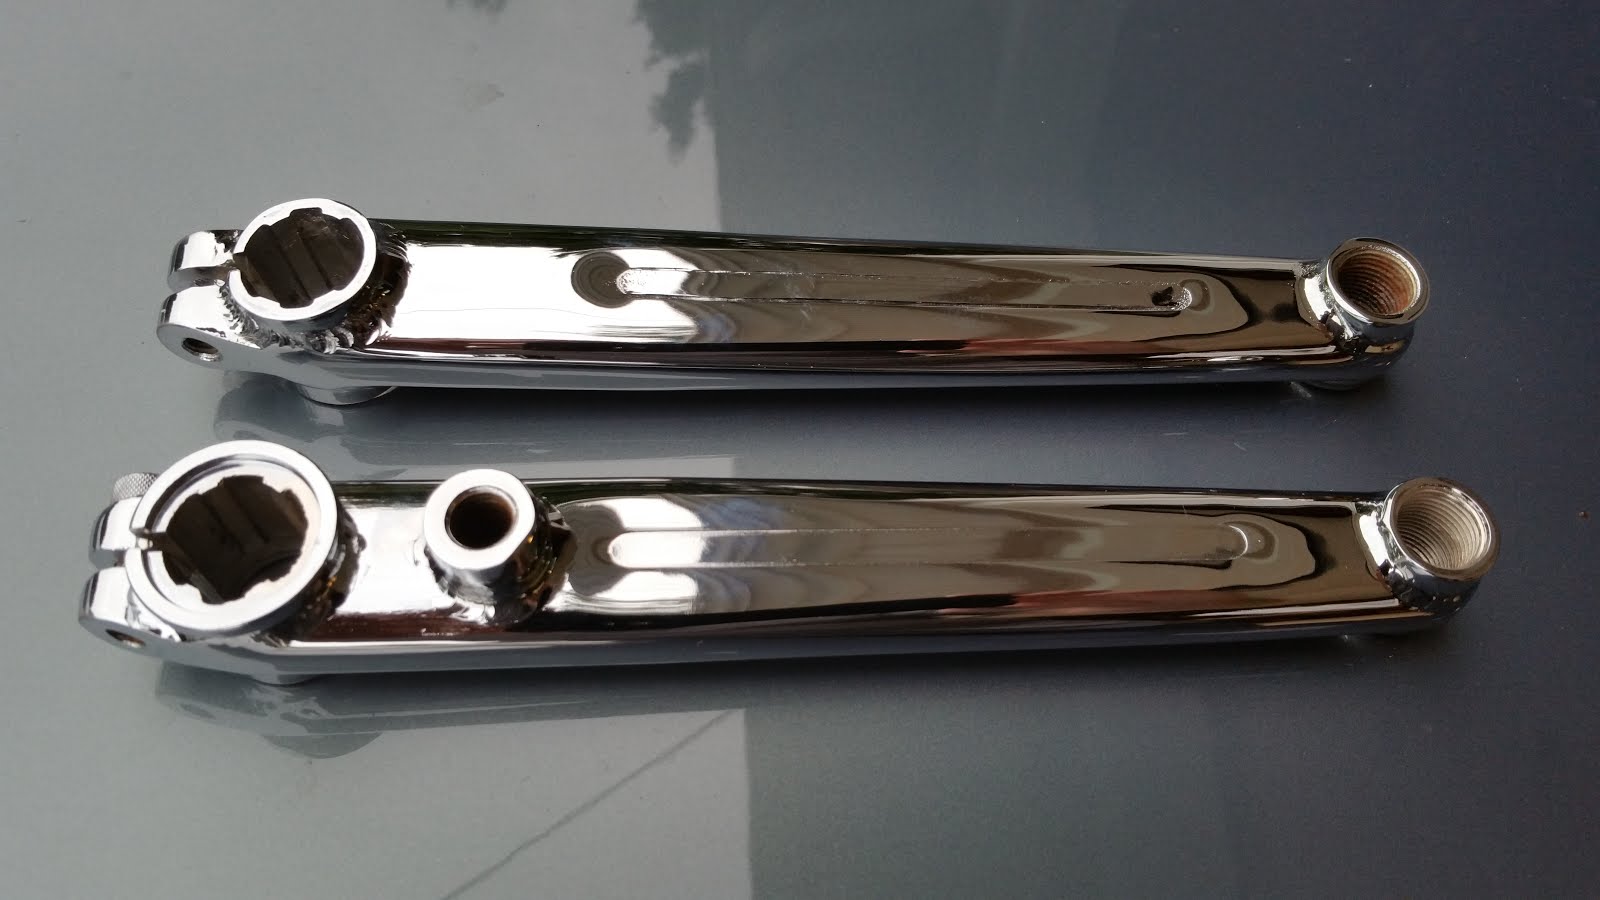
Figure 38, Credit: Michael Tuma
I mocked up the bike to see how it would look with the wheels and seat on it. I think it is looking good!
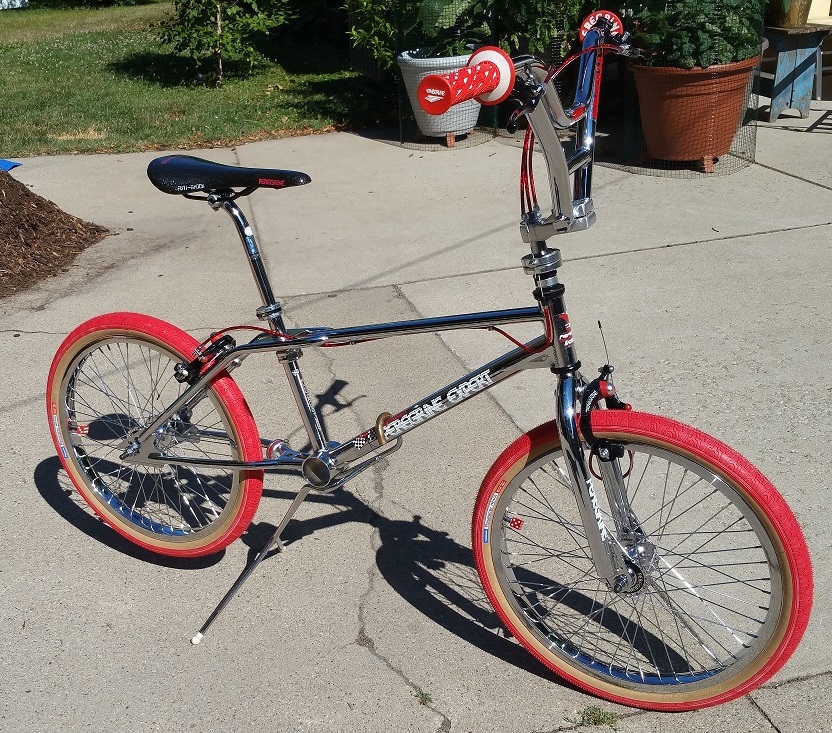
Figure 39, Credit: Michael Tuma
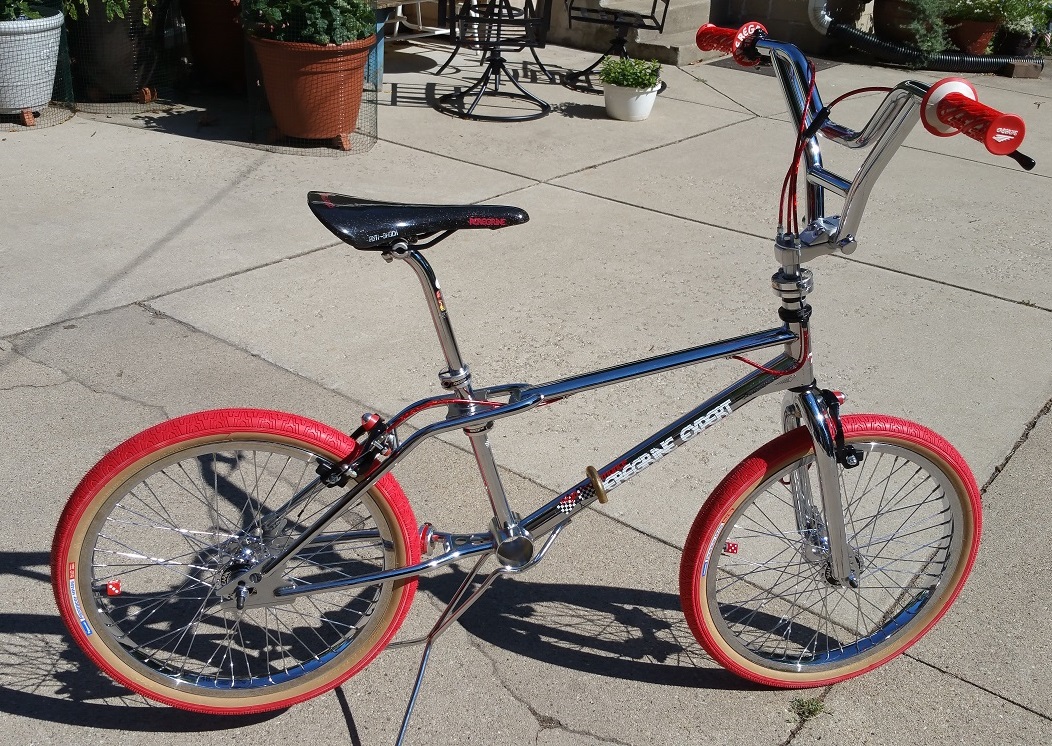
Figure 40, Credit: Michael Tuma
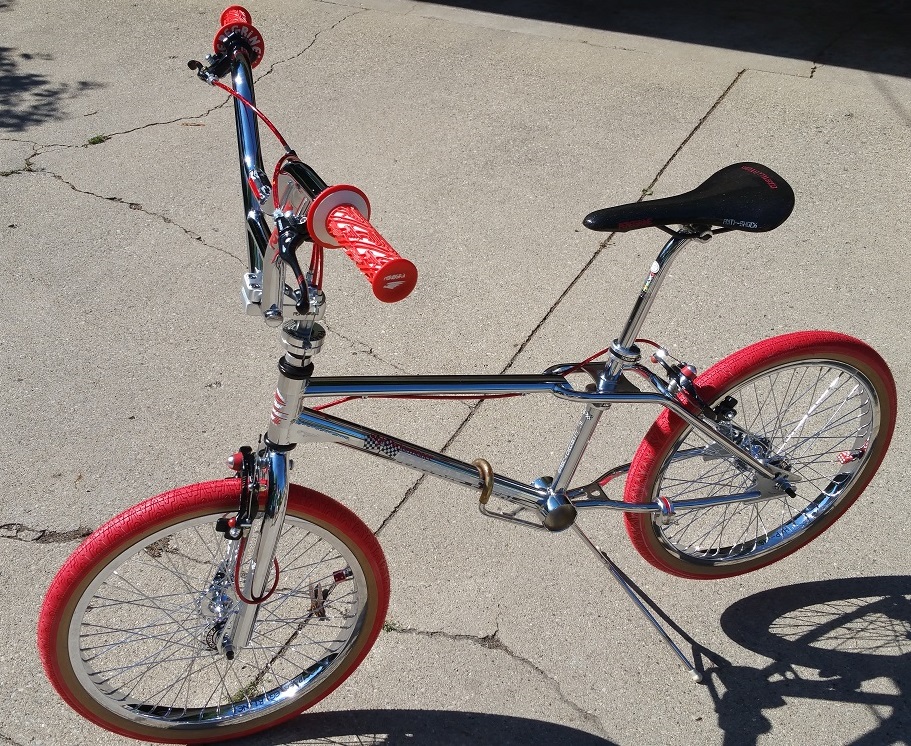
Figure 41, Credit: Michael Tuma
Since the last post I have worked on the last remaining items to finish this bike. I got the cranks installed with a Redline bottom bracket and Peregrine Platinum sprocket. I think the bike would look better with a black sprocket, but I have not found the right one yet. As you can see, I also installed the crank decals and Izumi chain. I still need to get the cups for the cranks.
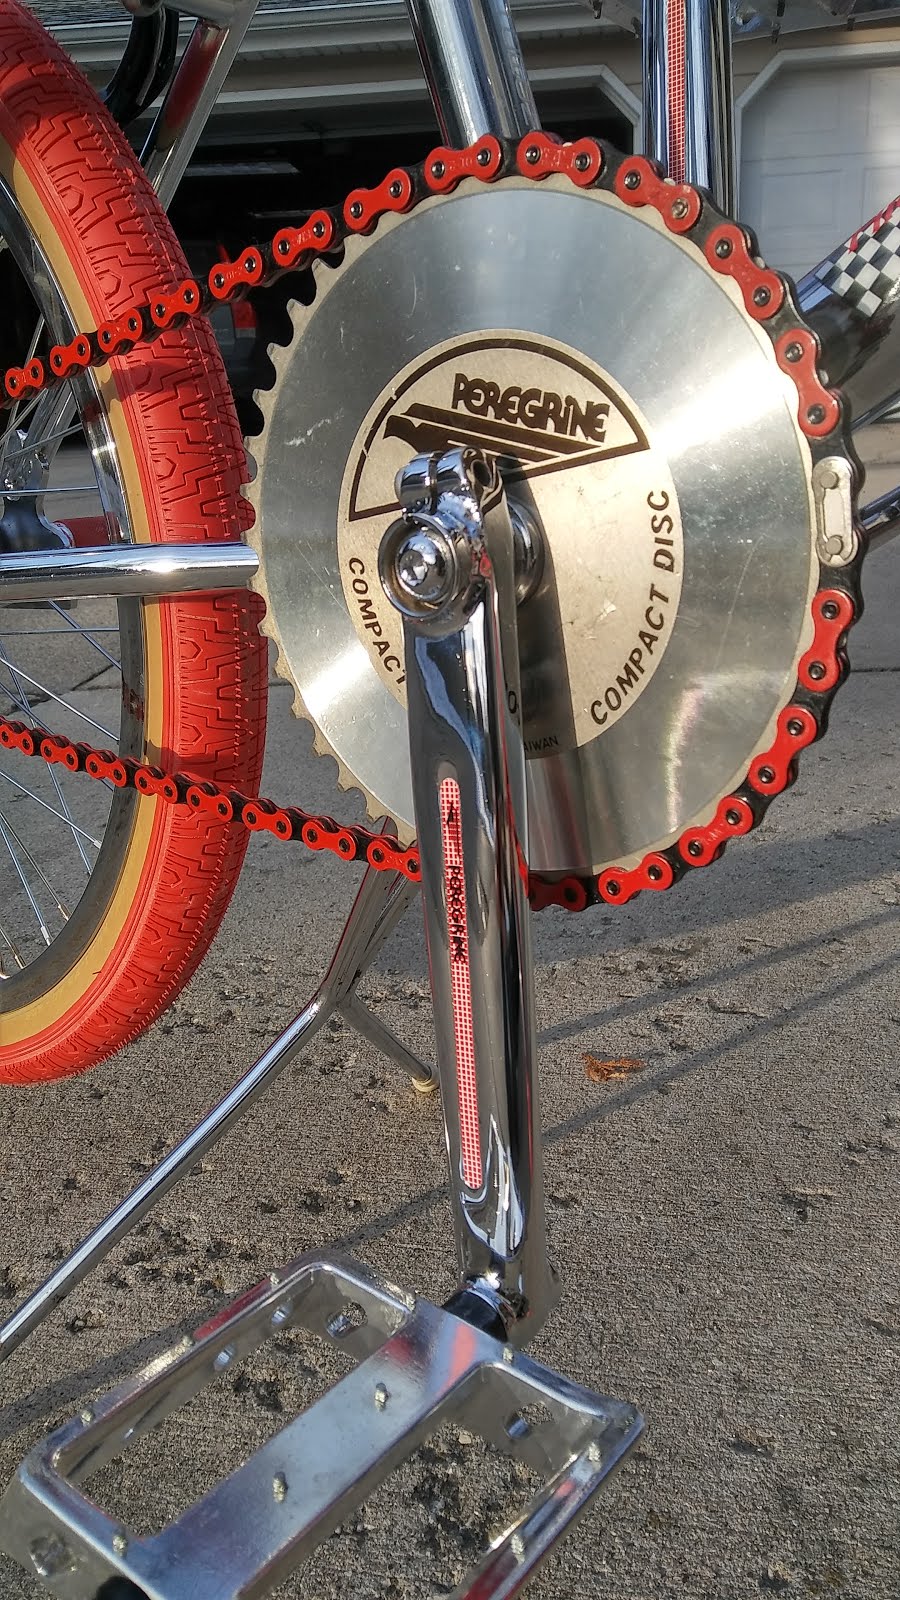
Figure 42, Credit: Michael Tuma
I also found a set of NOS first generation 9/16" pedals.
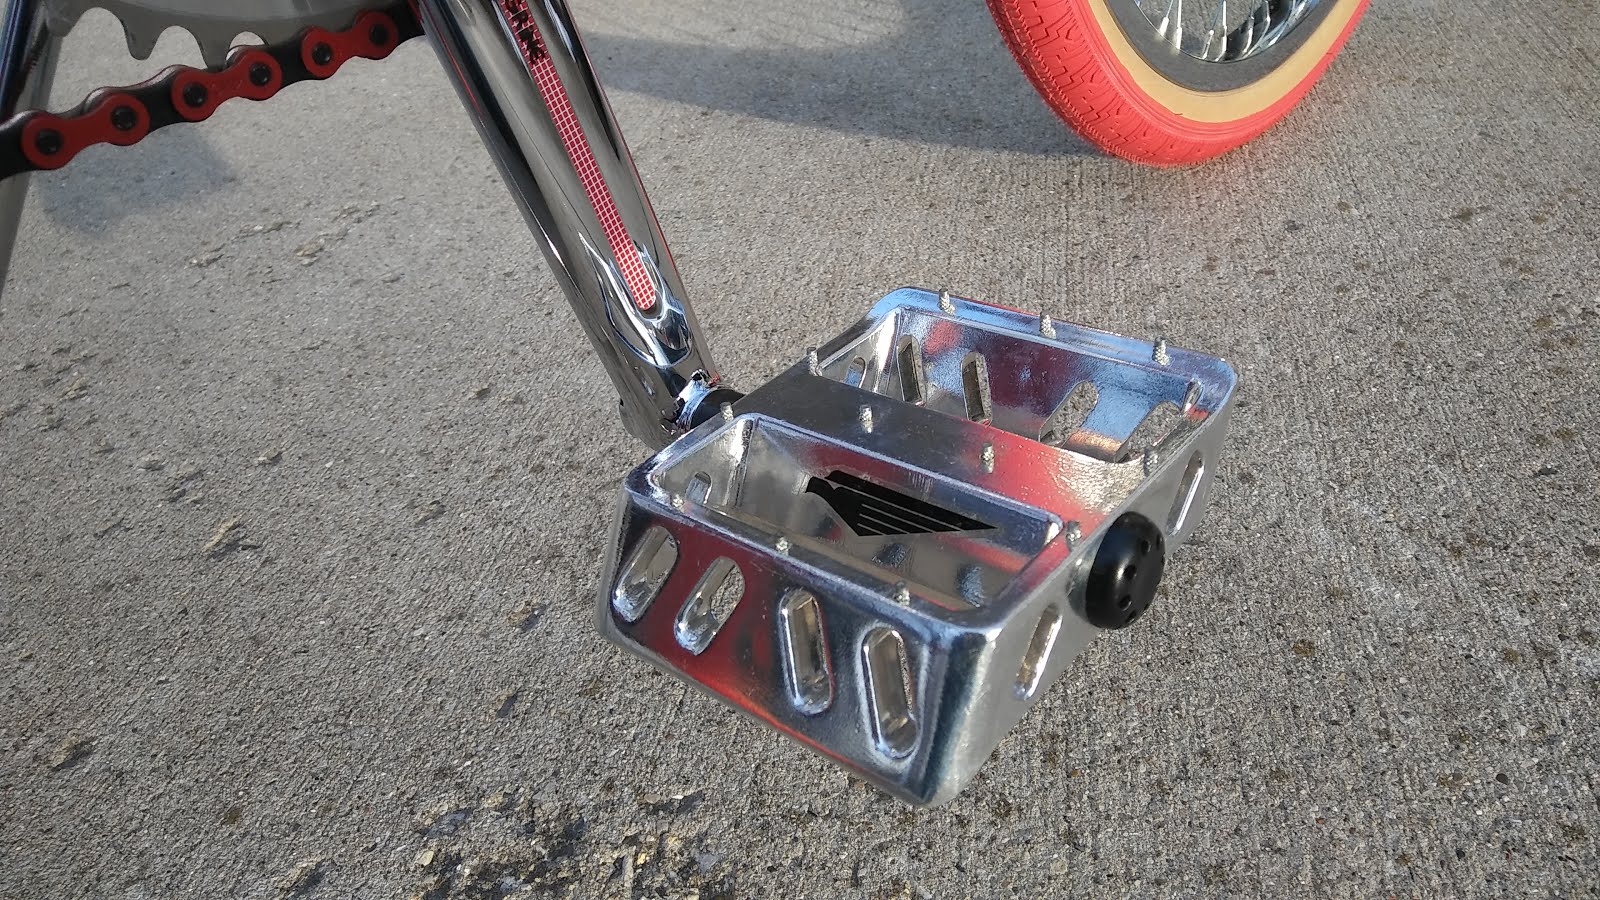
Figure 43, Credit: Michael Tuma
I apologize for the late afternoon winter sun, but it was above freezing, and the sun was shining, so I grabbed the opportunity to shoot some pics. Some more detail pictures....
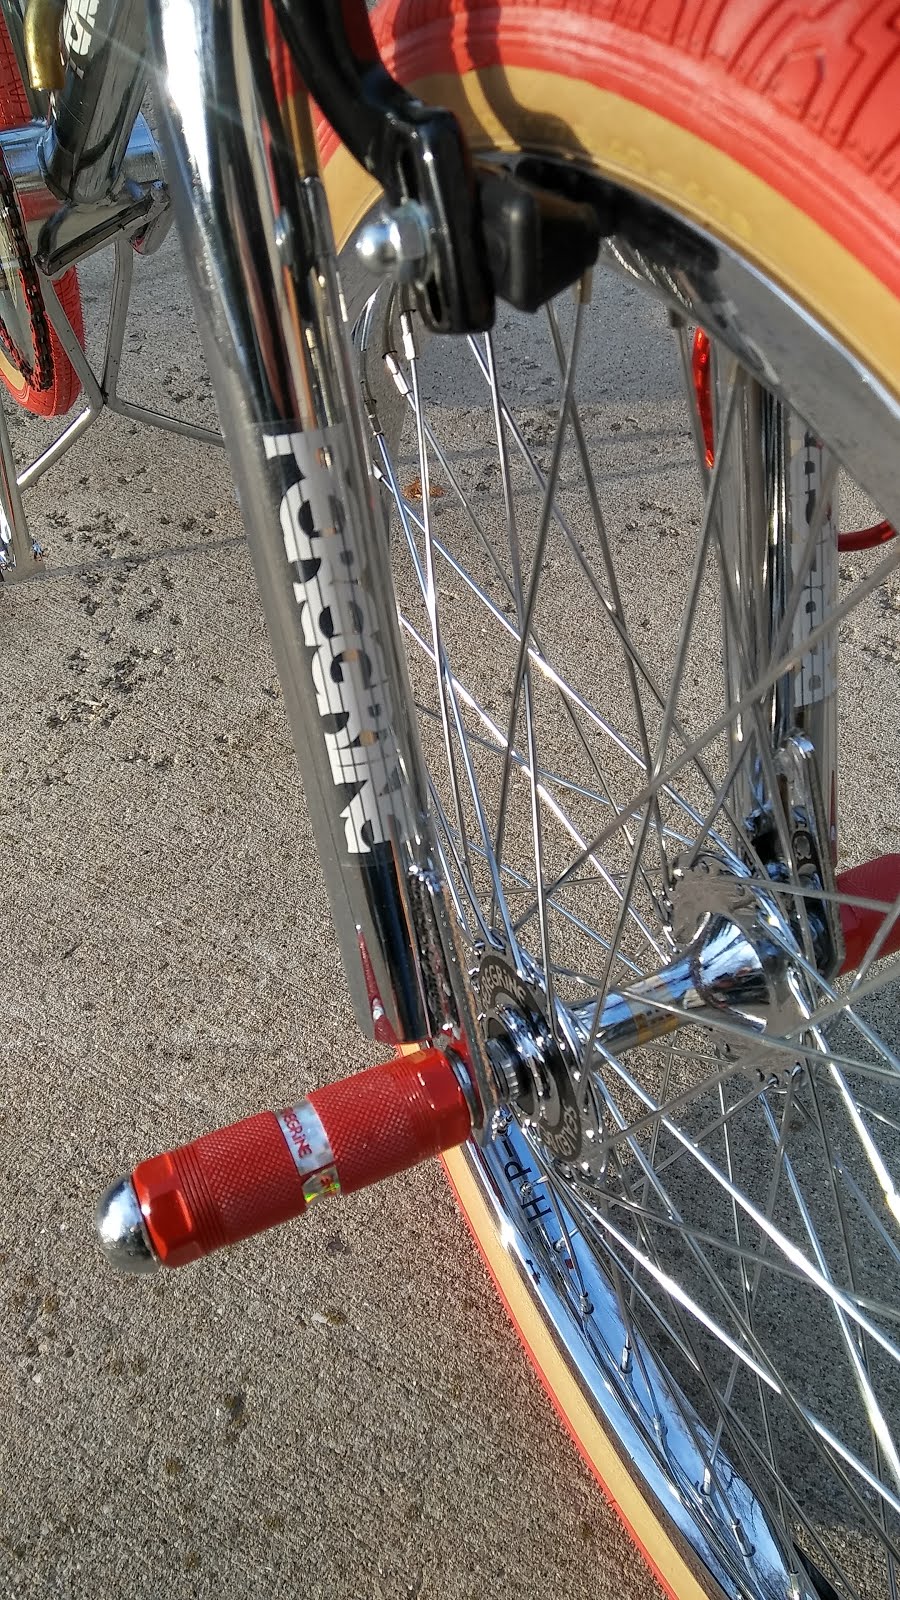
Figure 44, Credit: Michael Tuma
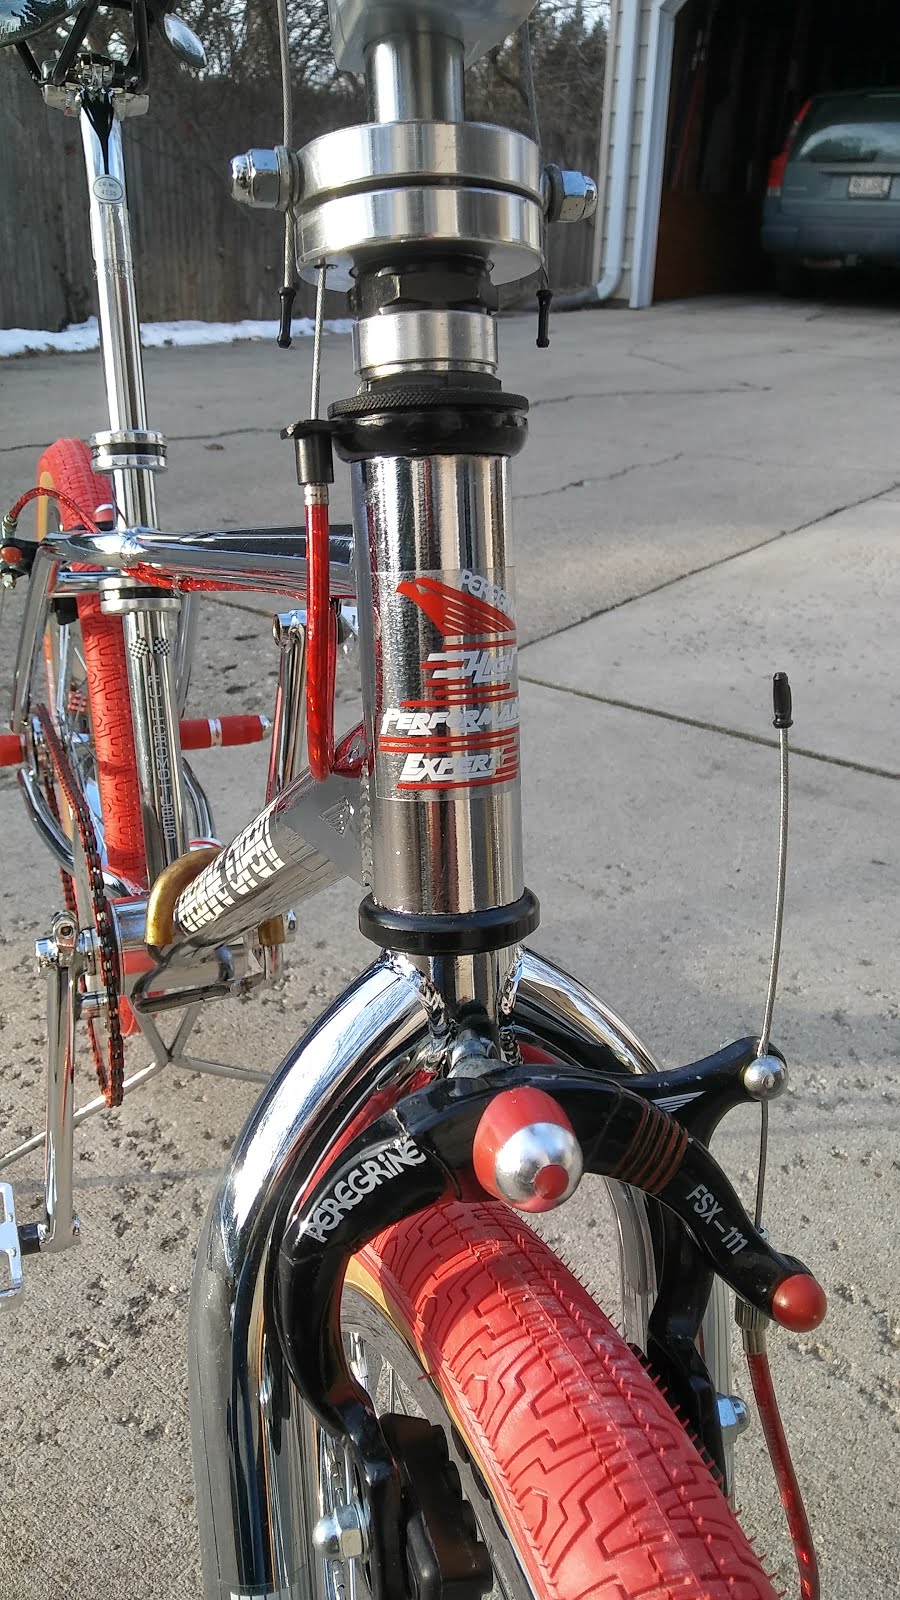
Figure 45, Credit: Michael Tuma
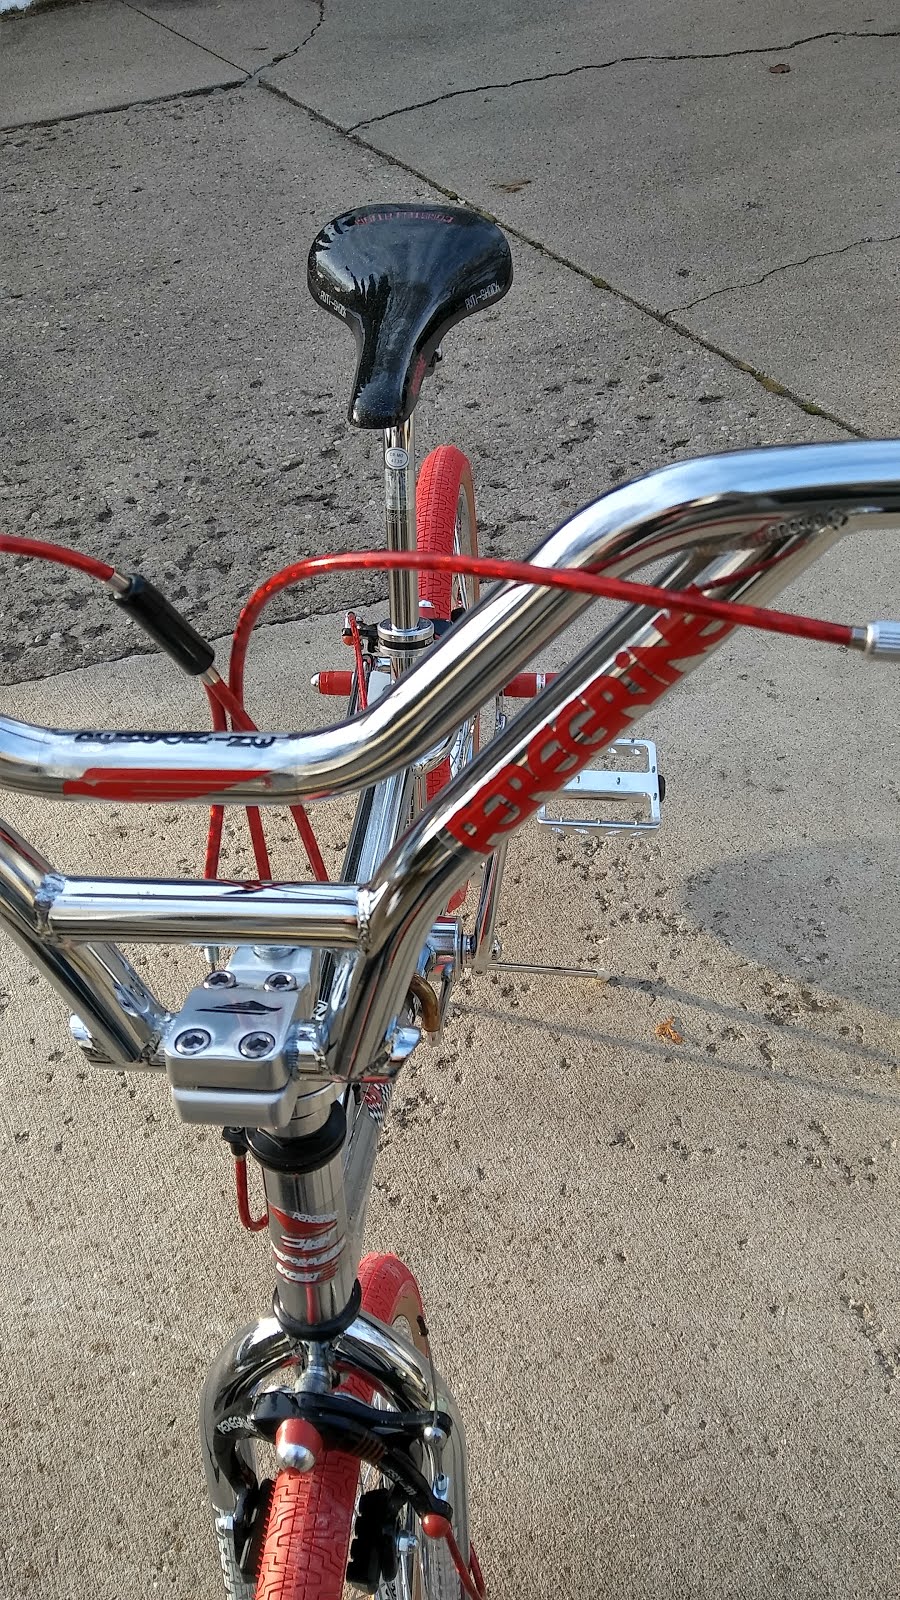
Figure 46, Credit: Michael Tuma
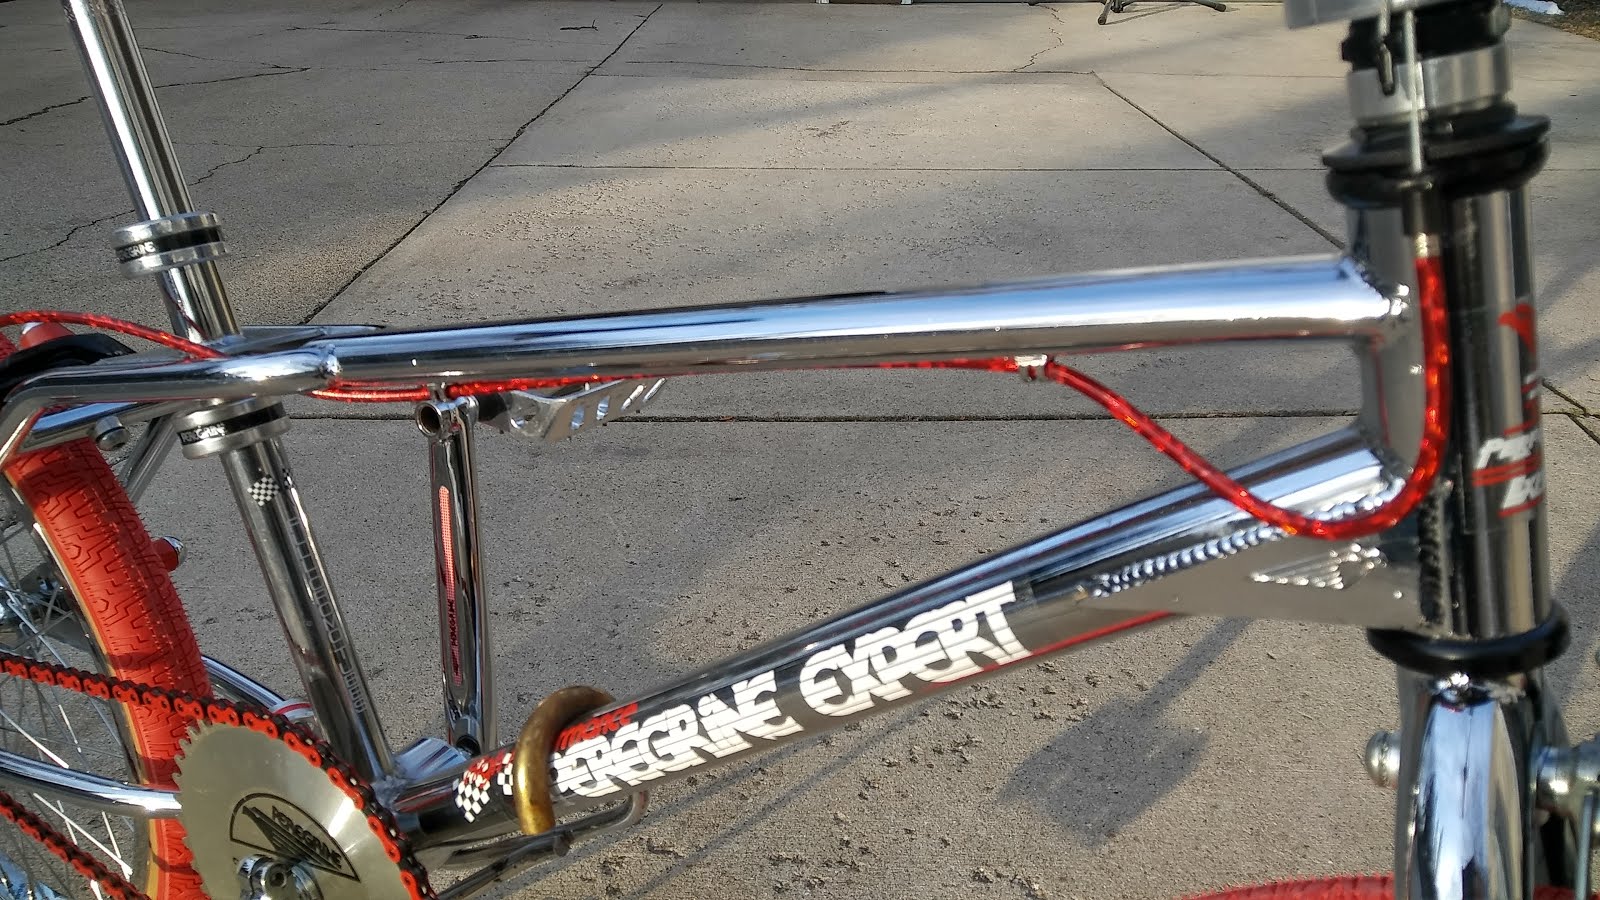
Figure 47, Credit: Michael Tuma
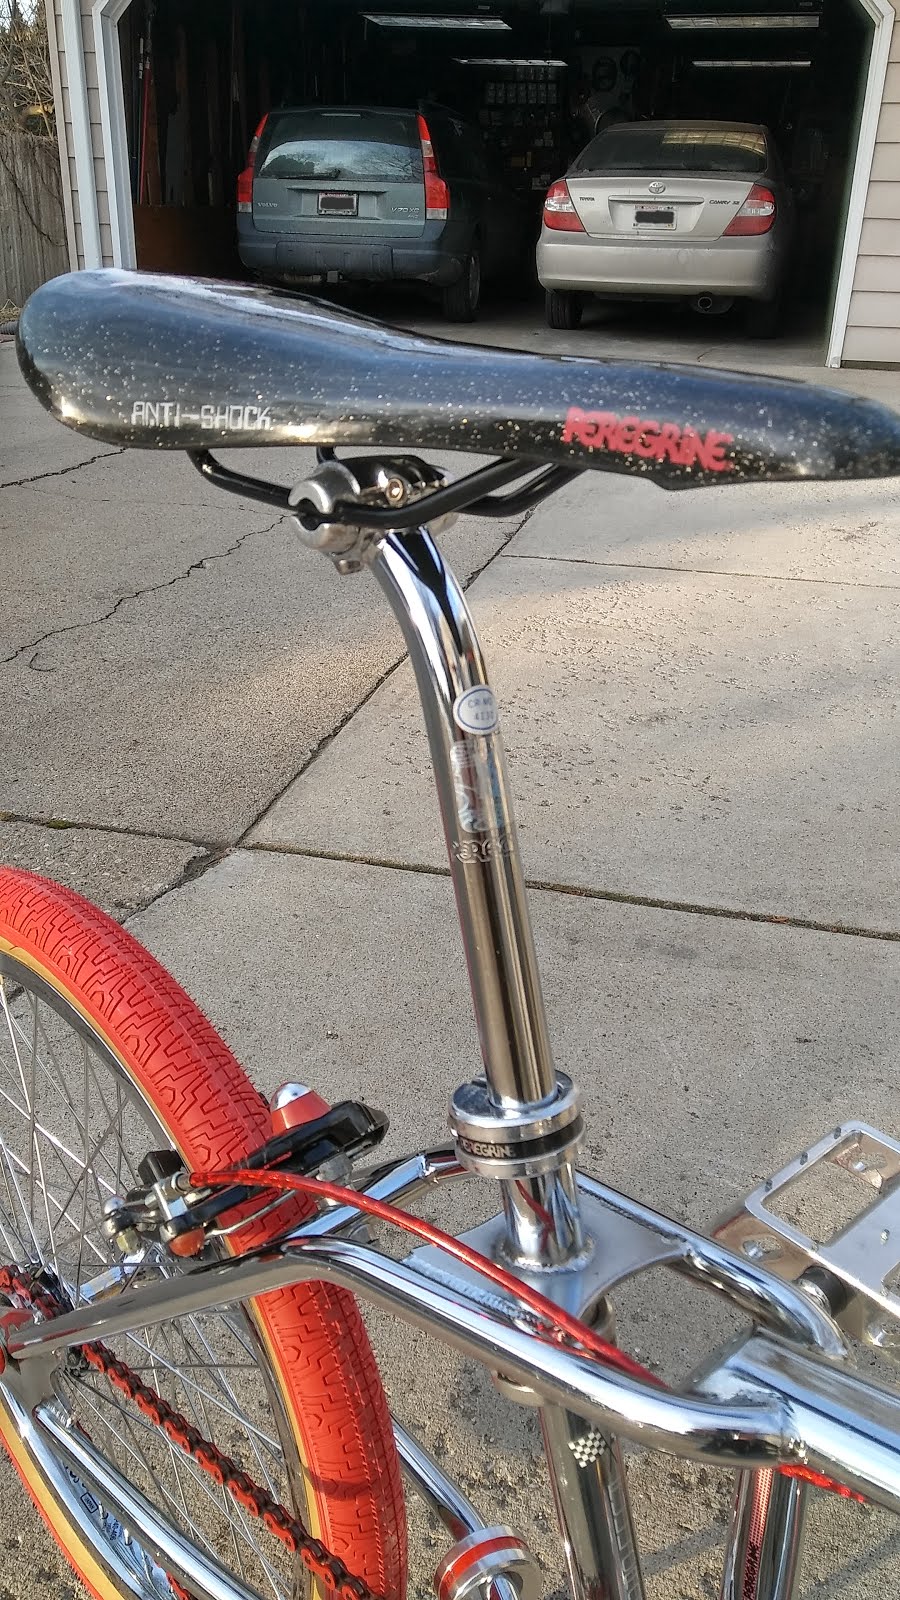
Figure 48, Credit: Michael Tuma
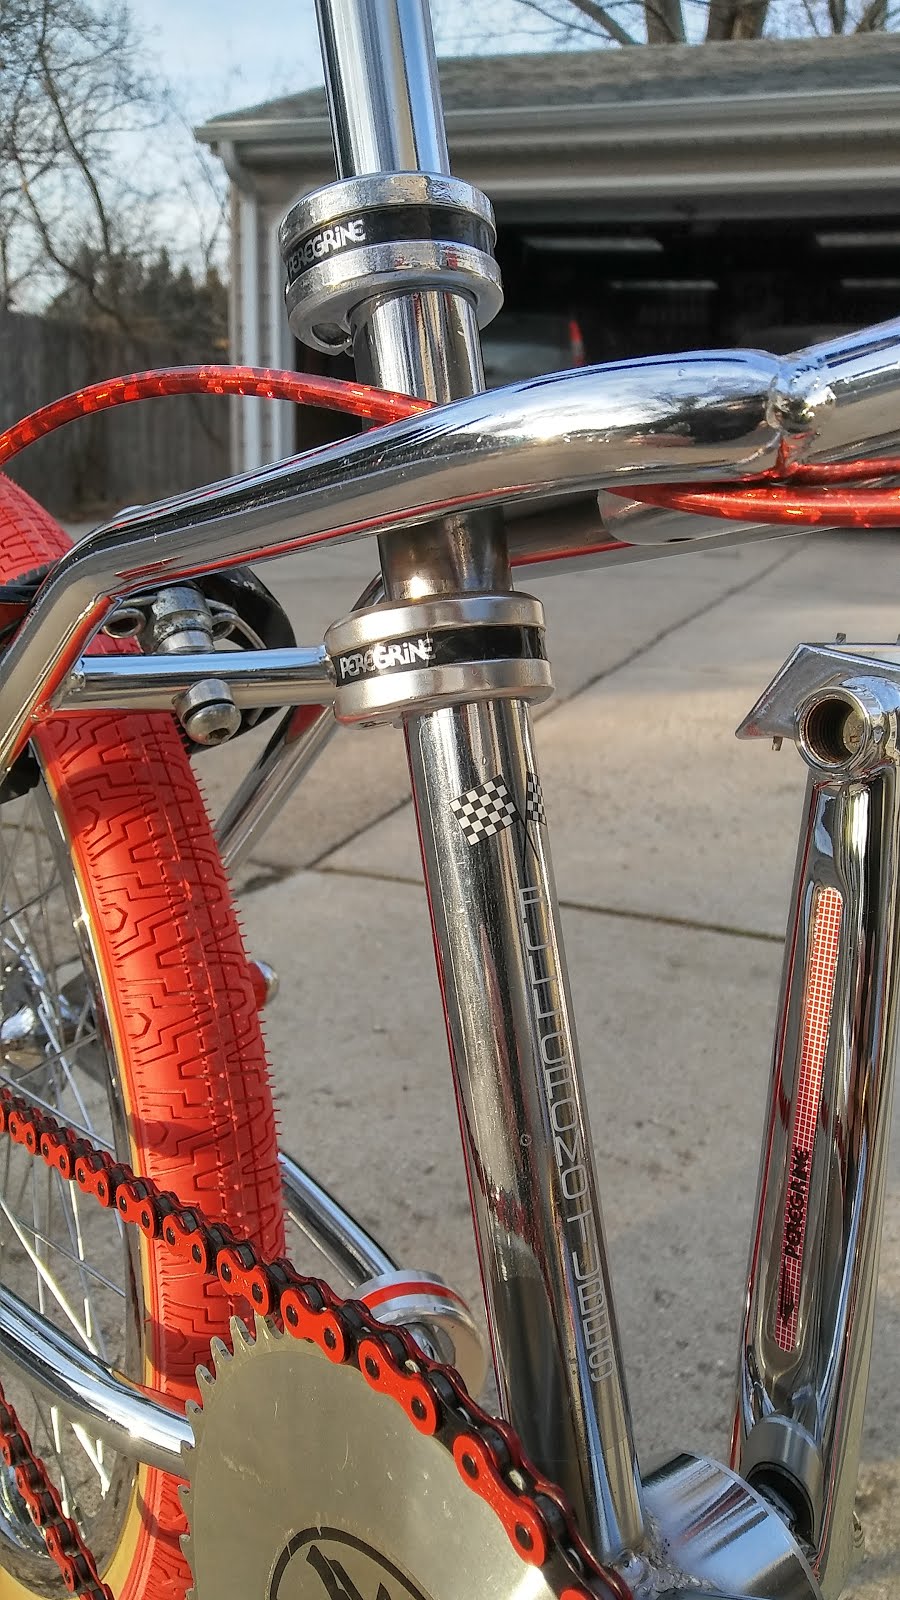
Figure 49, Credit: Michael Tuma
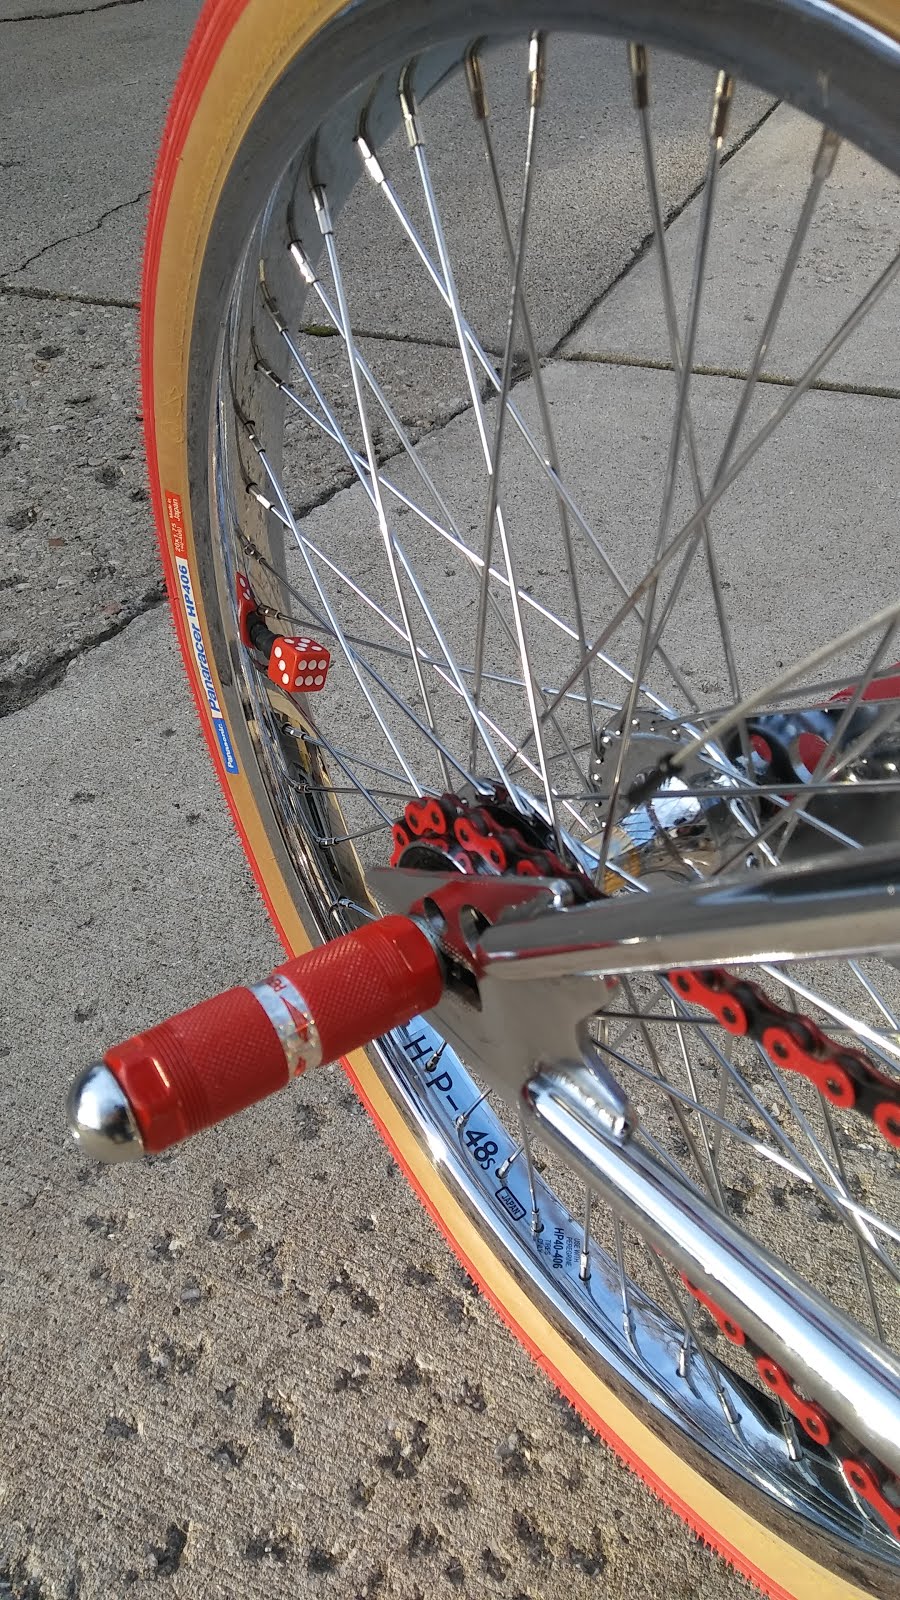
Figure 50, Credit: Michael Tuma
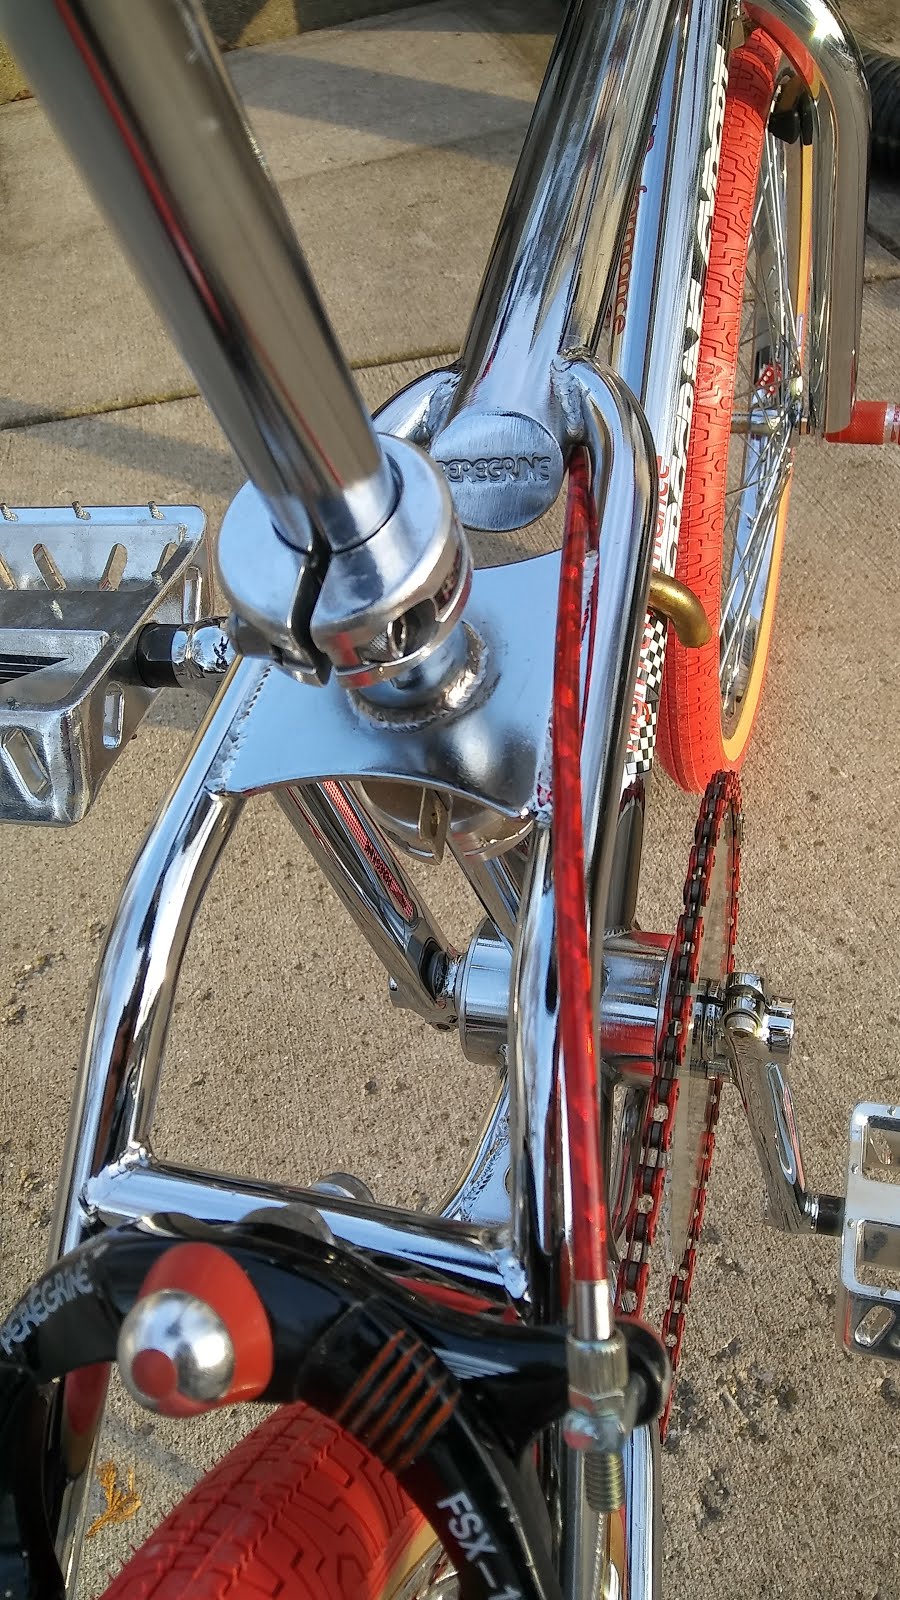
Figure 51, Credit: Michael Tuma
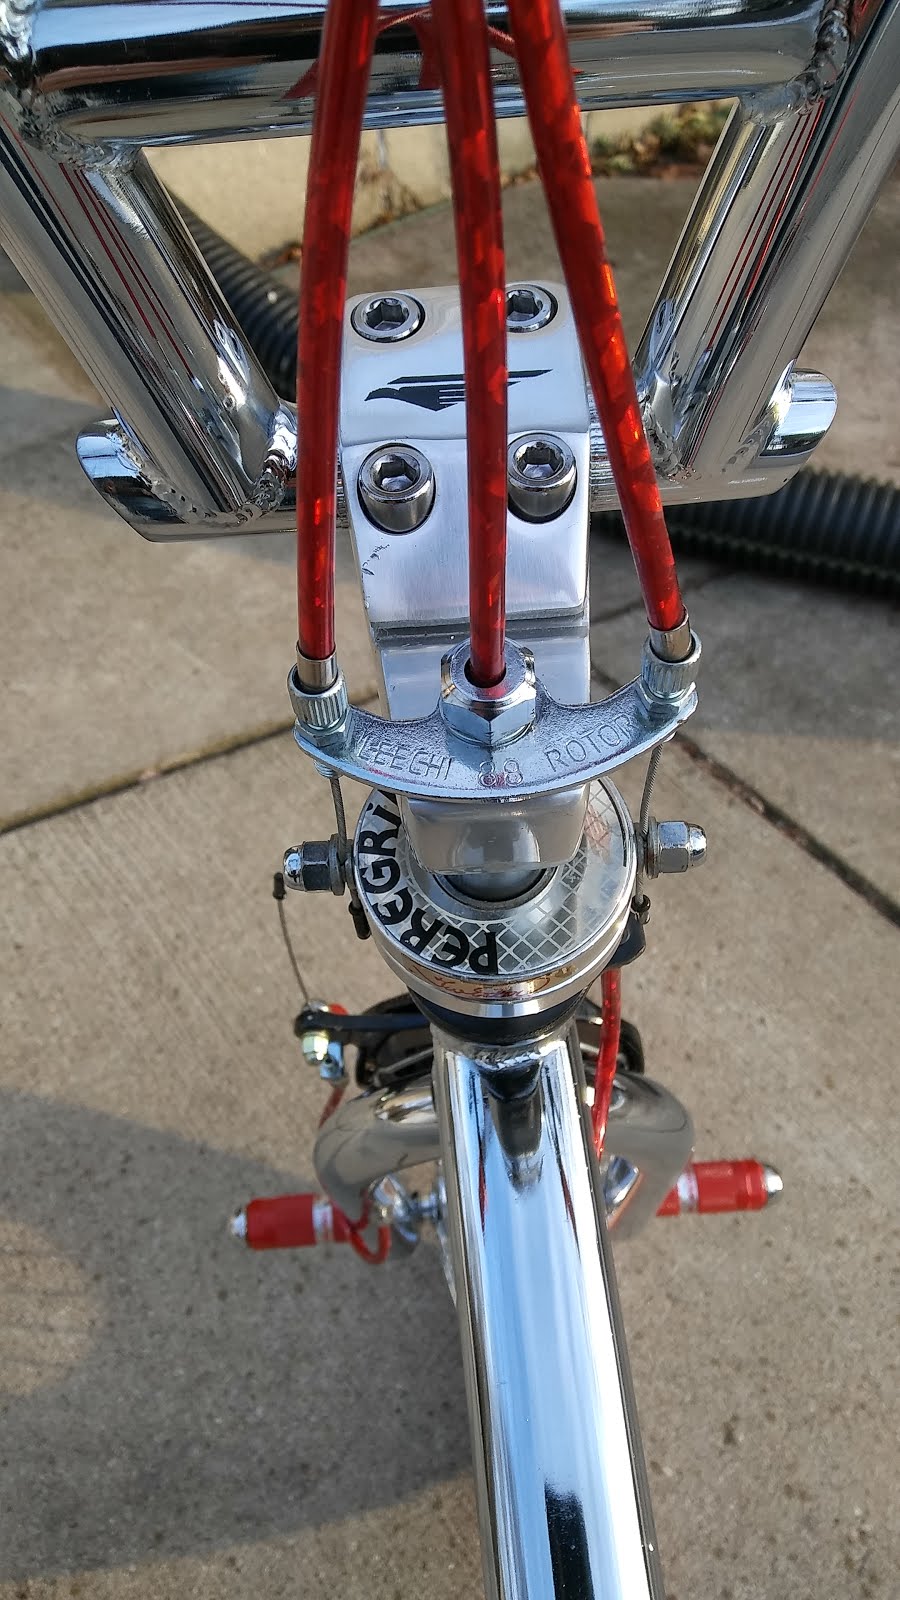
Figure 52, Credit: Michael Tuma
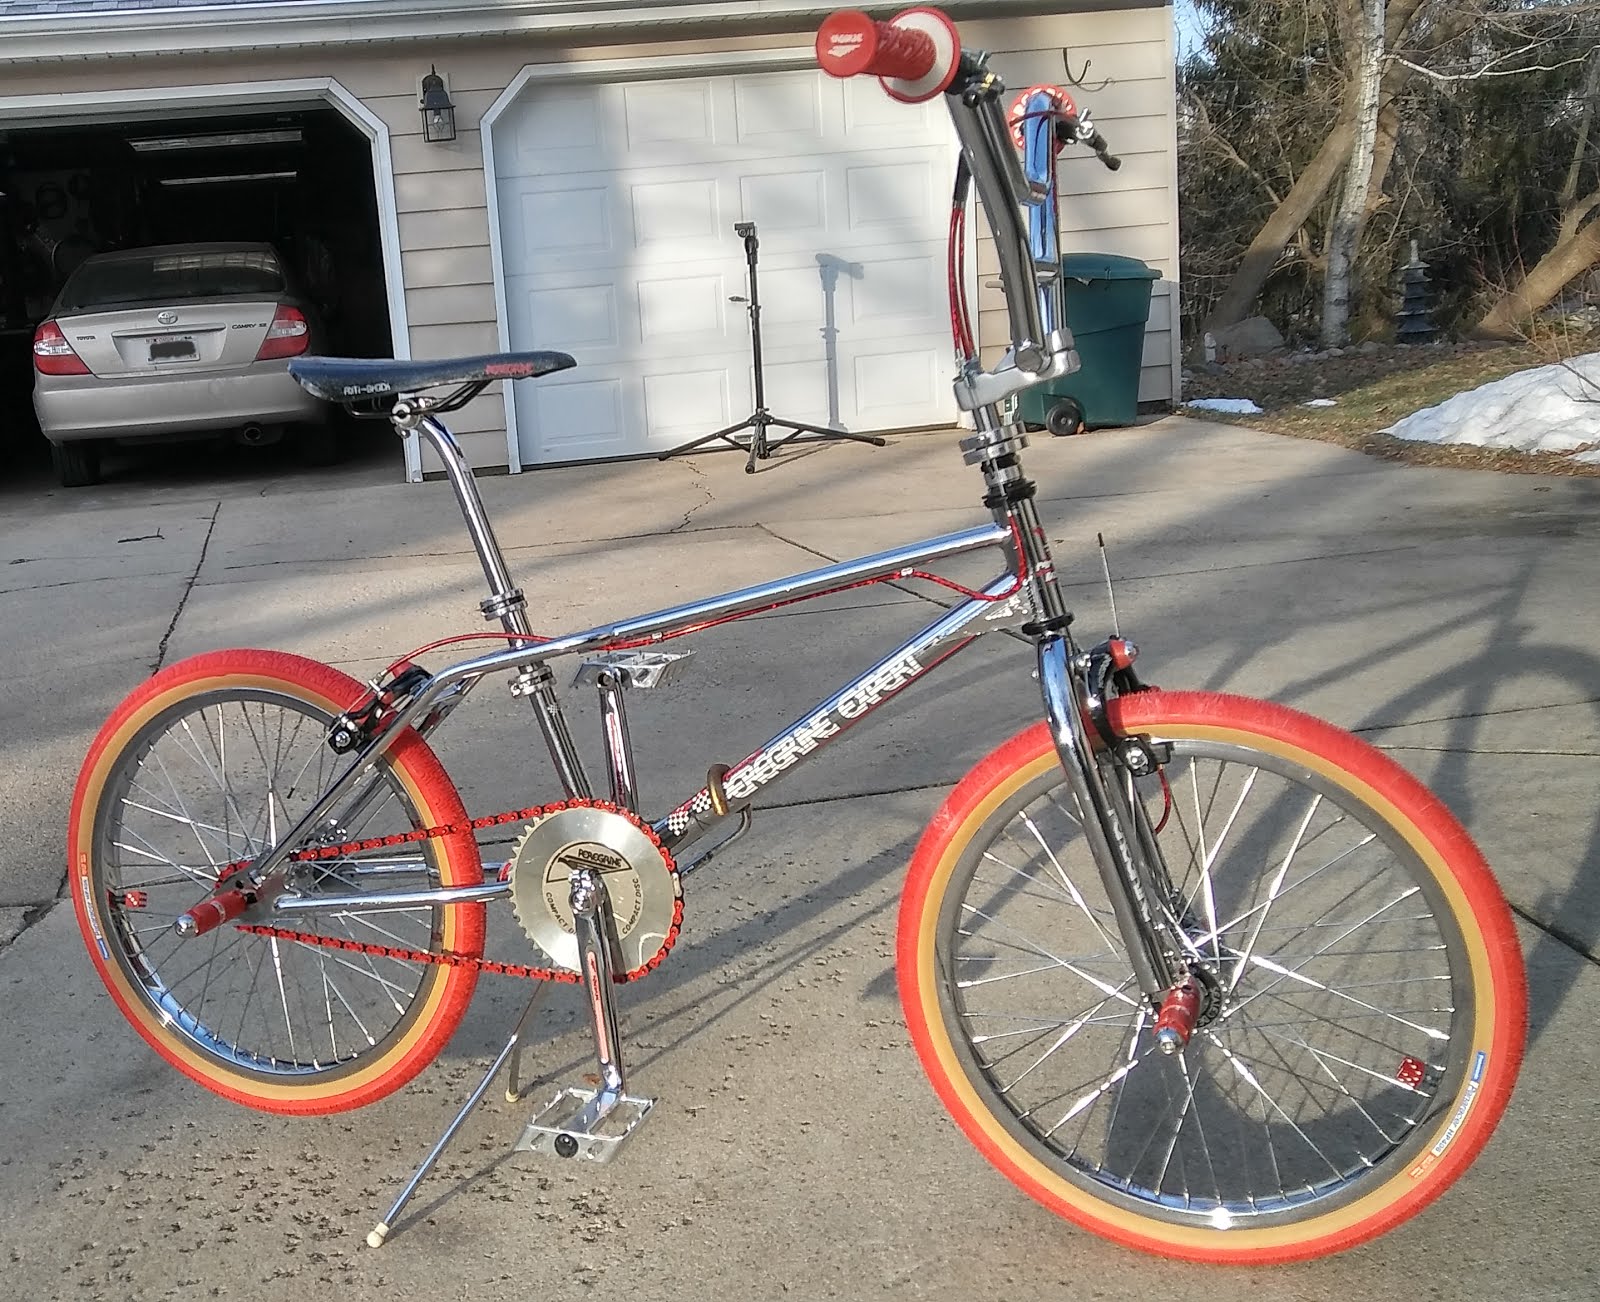
Figure 53, Credit: Michael Tuma
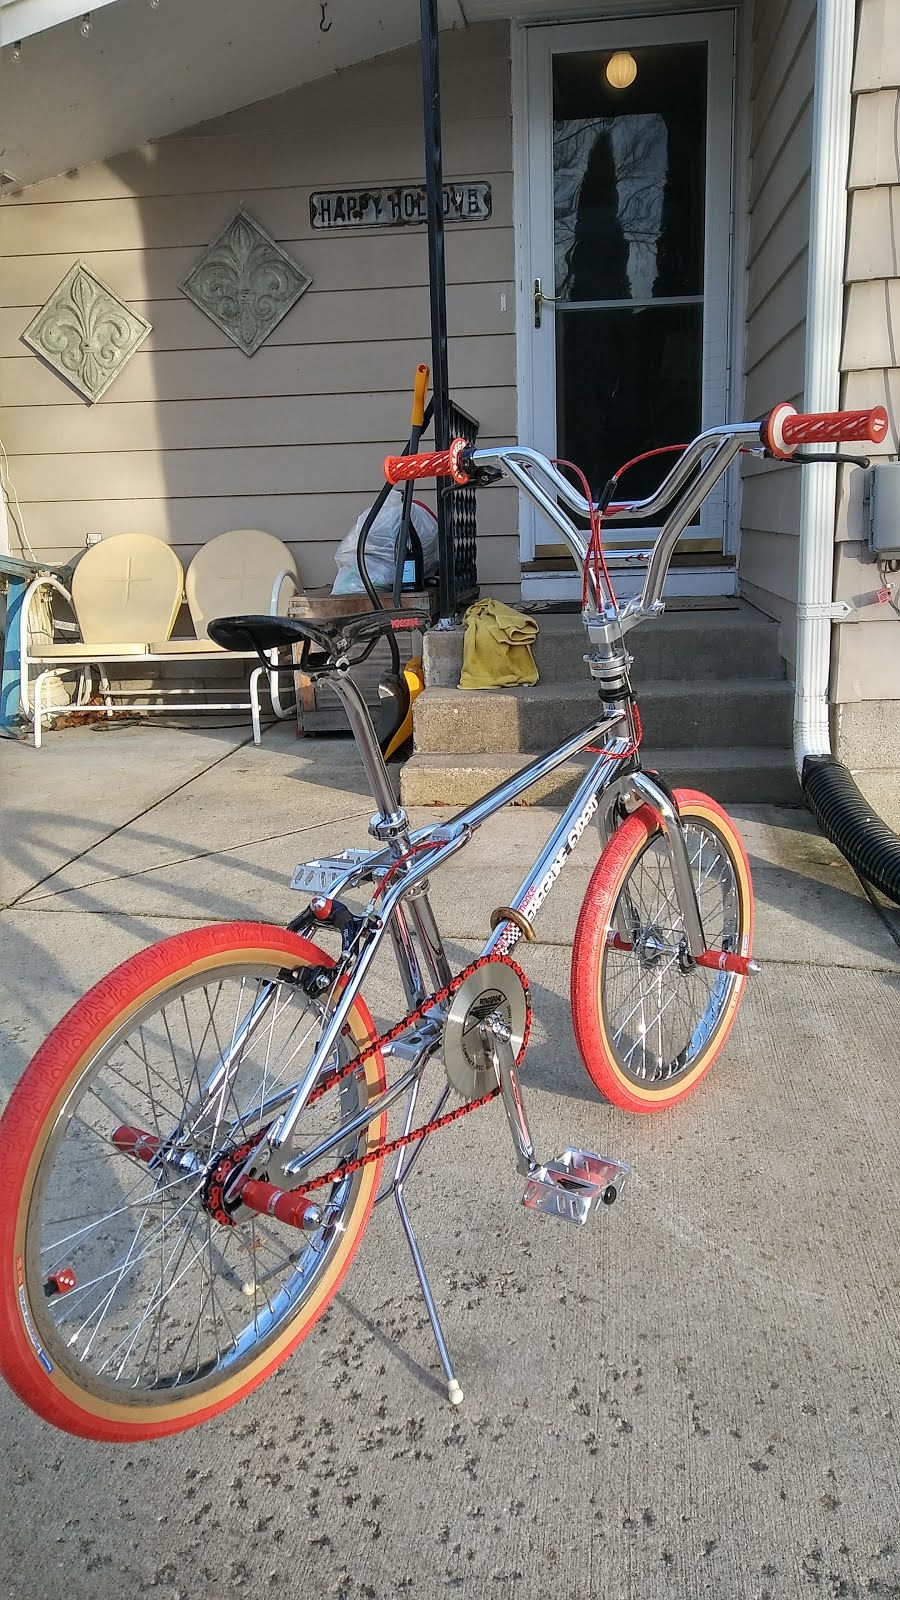
Figure 54, Credit: Michael Tuma
Parts List
- 1990 Peregrine Expert Frame with extra seat clamps :)
- 1987 Schwinn Predator Fork
- Peregrine Q2 Bars
- Peregrine Wild Pair Grips
- Peregrine Power Stem
- Lee Chi Rotor Bracket
- Peregrine Twister Rotor
- YST Headset
- Custom Gyro Cables
- Peregrine 22.2 Trick Top Seat Post
- Peregrine Constellation Seat
- Peregrine Seat Clamp (x3)
- YST Bottom Bracket
- Peregrine Cranks w/Redline BB (restored)
- Peregrine Platinum Compact Disc
- Izumi Black & Red Chain
- Peregrine First Gen UF-1 Pedals
- Peregrine Super Pro Wheels (rebuilt)
- Peregrine First Gen Pegs
- Peregrine One Stop Brake Levers
- Peregrine FSX-111 brakes
- Panaracer Tires